|
|

|
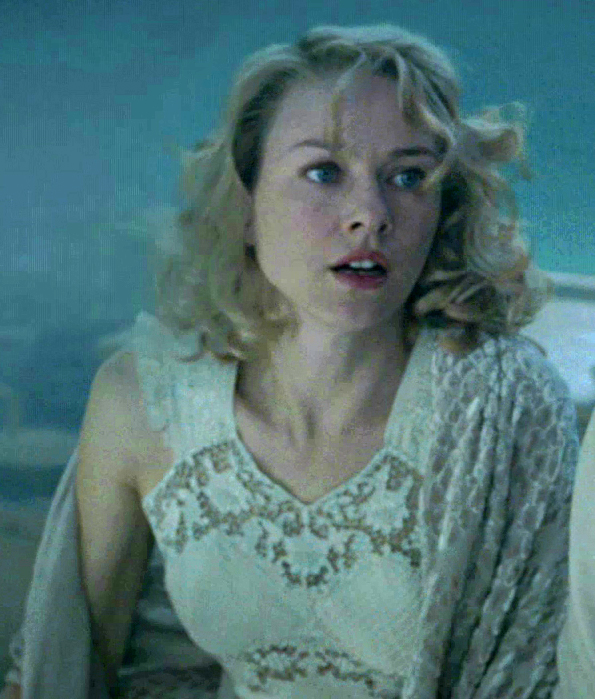
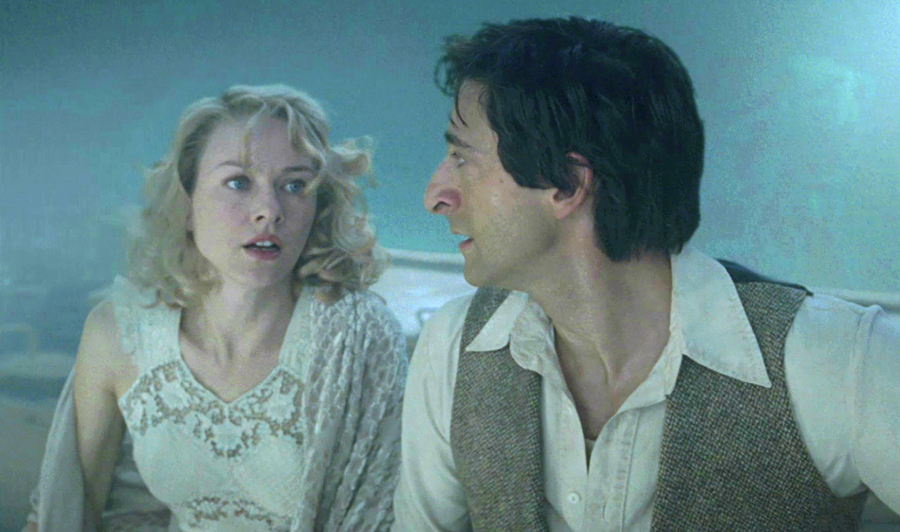
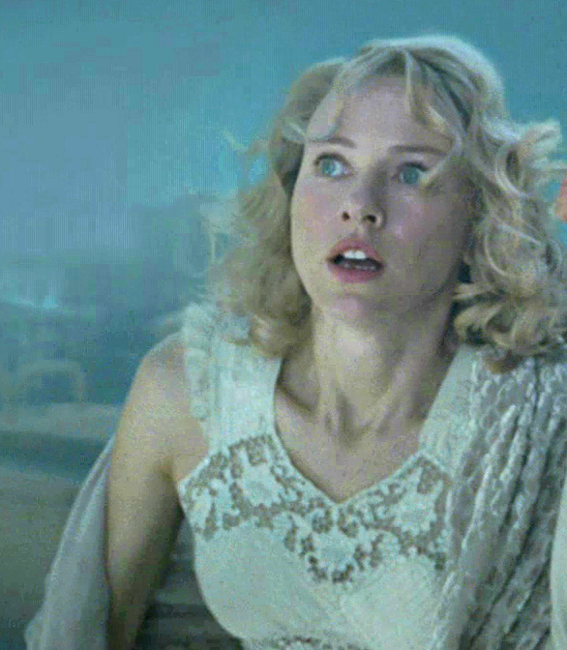
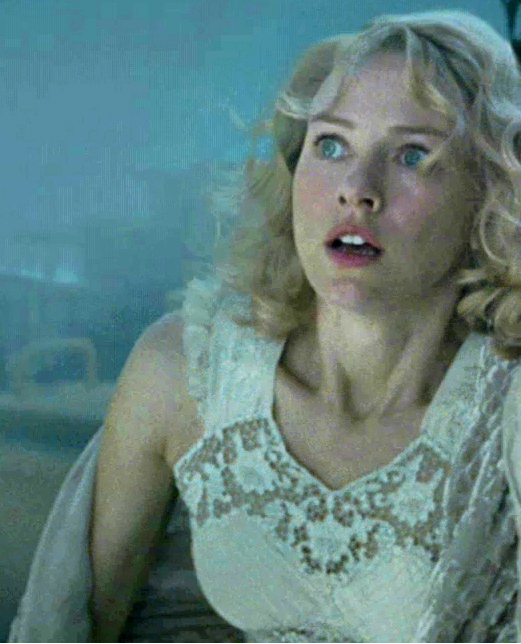
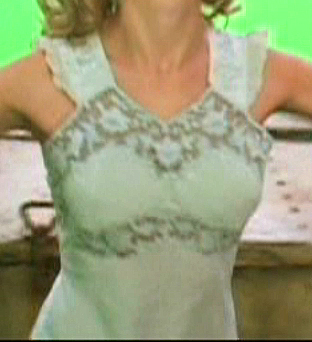
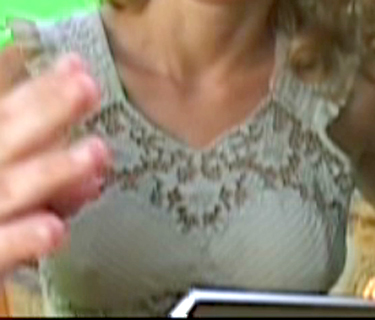
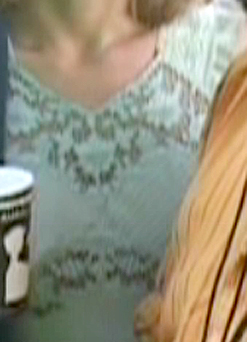
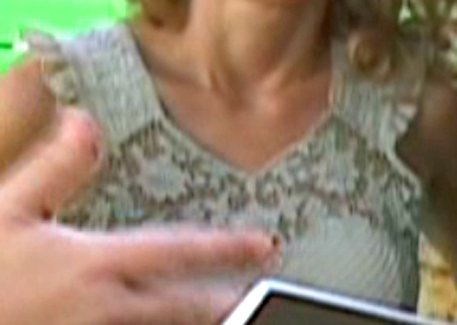
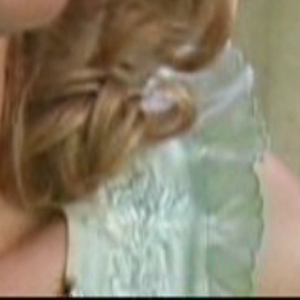
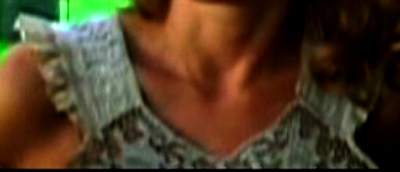
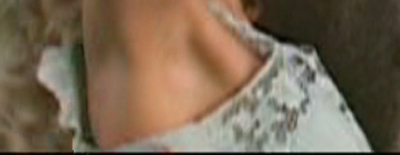
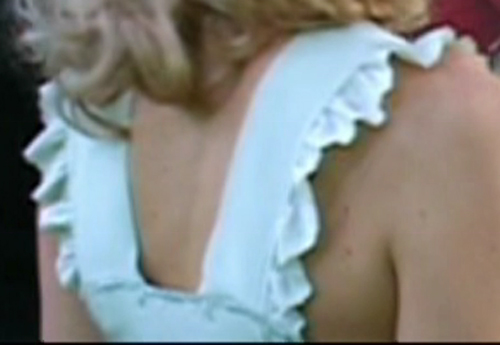
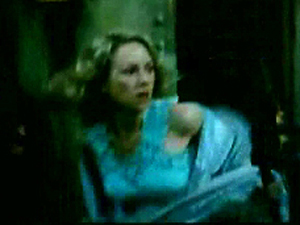
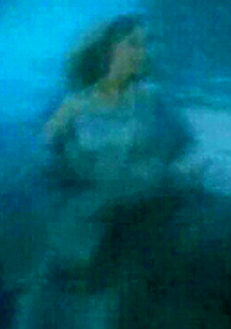
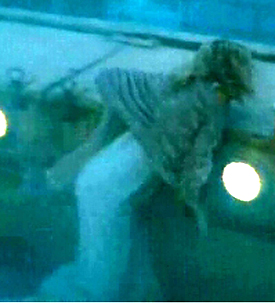
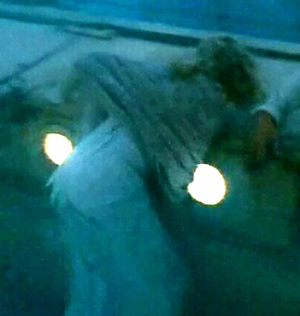
Fog Dress & ShawlJust before they abandon their search for Skull Island, the ship enters a great fog bank. Soon the S S Venture is being tossed about in the shallows, waves dashing it into the rocks. Ann's costume for this scene has lace inserts and a fringed shawl. Given how much the ship is rocking, there are few shots of this pretty dress. In the lighting, it "films" cream to white. Seen in the BtS shots, it has just the palest green cast... but it's very reminiscent of the overdye job used on Galadriel's dresses to keep the costumes from "screaming" white on film.
Picture Study
Shawl
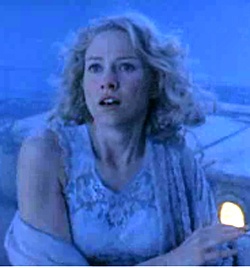
Very small blurry shots of the entire dress and shawl
Costume Description
Making TipsThe Fog DressThe skirt is easy... even if we can't see the whole thing yet. Use a six seam skirt that fits at the hip. Without being able to see any detail, guessing it's a flare not a pleated style. Make sure to do a mockup to get a sleek shape over you hips. (Slimmer suggested for a cleaner look but not required.) Pre-wash everything, the net fabric, the lace, the ribbon, the cotton. Make sure that you wash the fabric hotter and dry it hotter than than you plan to care for it normally.... especially if you're going to dye it after it's all together. The top is probably best draped. Buy a set of thin foam or batting bust cups, pin to the center of the bust... or a t-shirt on you. When you pick bust cups... you've got your choice of how much you want to pad and cover. Cups can just be cut to shape and the fabric edges zigzagged closed. This will both depend on your shape and the look you want. (Your final doesn't have to leave the skin bare, you can use a skin tone fabric under the lace inserts as modesty panels when you put the dress together. There's just a bit of fill in fabric between the two cups. Just fake it. (if confused, look at a bra.) You might find it easier to use masking tape instead of fabric here. It's just a little piece... shape and cut. Make muslin strips: For the next draping steps, you're going to want a lot of strips of muslin (or other mockup fabric). Figure out if 3" or 2 1/2" will look better on you. This is a torso height and coverage issue. Don't use any seam allowances at this step. You'll be pinning to the cups with about a 1/4" overlap and under you can do all the pinning with the other fabric. Shoulder strips: Pin the shoulder strips all the way to the cups for now. And position them smoothly at your shoulder and mark the top point. Take the straps all the way down for now and figure out where the back of the neck will end. (Yes, that means the strips are going over where the top lace insert will be... but it will stabilize the cups.) Top lace insert. Pin the strips to form the top zigzag. You could also do the back the same way to make it prettier (and just have fabric under the lace strip). The pinned ribbon piece will then give you that upper insert pattern piece. Under bust lace insert: The under bust piece is a bit more shaped... you can play with more strips of the fabric to make this pattern piece. Put a gather stitch in the under bust side to give you a smooth curve. (When you take the draping apart... you'll mush the piece and cut those gathered pieces as flat.) Lower fabric: Drape the front and back bottom fabric pieces separately. Get them pinned to the lower ribbon. Shape the side seams only after you like the drape of the front and back. The pure guestimate at this point is that there will be another round of lace at the bottom in a similar zigzag pattern... but the guess does correspond with what we see when she's leaning over the lifeboat... and makes sense for this outfit. Putting it together.... For the cup pattern... the net fabric will stretch to shape around the curved cup without a seam. The cups, and that center pieces should be wrapped in 100% cotton. The cotton may require little darts to shape. Zigzag the edges. Tack the net fabric down to the cups on the edges and in the center. Fold the edges under. Build the shoulder pieces... leaving extra length until you finish the whole outfit... last step. Prewash the ribbon, even if it say not to, wash it in hot water to get the pattern to raise. (Ribbon doesn't have to be cotton. The prewash will also make the ribbon a bit more matt. Do test an inch first just in case it does do a meltdown.) The ruffle can be just cotton trim with a pretty finished edge. There might be a bit of decoration there. Get trim that's 1 1/2" to 2" wide (again depending on your size). Trim can be flat or pre-gathered. (Pre-gathered, you're going to need less, but you're going to have to trim off the gathered bit.) Here's a test point, the gather looks to be 2:1, but we need someone to see if more or less gather is better. Mark the trim for your gather line... wide at the shoulder top, narrow (about 1/2") at the bottom. If you need 16 inches and it's a 2:1 gather... that 16"x2. If it's 2 1/2:1, then 16 X 2.5. Gather evenly. Pin to the cotton facing that goes under the ribbon, being very sure to have marked where the top of your shoulder is. Just baste it to the facing first and make sure you like the arrangement. Secure. Iron. Add the ribbon on top. Assemble the top lace insert and cups. For seam finish use either a serger or a straight stitch, clip close and zigzag the edge. Fit should be fixable on the sides. Baste on the shoulders.... but don't attach yet. Fit the bottom of the blouse. Put the top on a hanger and let the whole thing hang out for a few days. Then try it on. Make minuet adjustments to front and back at the shoulder ribbon. Stitch and finish the seams. Top stitch down to the cup. (Would love pictures of the steps if someone makes this outfit... and your extra notes.) The Fog ShawlThis is really easy to make, though with a bit of searching you could probably buy it or find something in the thrift stores. There are a lot of voided velvets out there right now. You just need to find a white or pastel in any color from a sea foam green to a light turquoise. If you're dyeing a white, you might want to use the same dye bath as the dress and put it in afterwards, leaving it longer. You want a rectangle of cloth about 24" wide (wild guestimate). If you're short. maybe a bit narrower. Play with a bit of soft fabric to see what works for you. Share your results with us. The length will be variable, based on your height and if you can find the foot long fringe. If not... go for the half foot fringe and shorten the shawl. For the long seams, hem by turning under twice in a narrow topstitched hem. For the fringe ends, you can actually just turn up, not under, once... and attached the fringe on top of the raw edge. That way there's no bulky seam. And what's there is covered by the fringe top.
v ----- Advertisement -----v
^ -----Advertisement ----- ^
|
v ----- Advertisement -----v ^ -----Advertisement ----- ^
|


This site was last updated 11/24/09