


|
|
Tips to building Legolas' White Knives
Also check out our Weapon Tips
section for much more information.
== Pattern and Tutorial by Suzanne

The Pattern
|
Basic pattern for knife handle. This should print up
full size, but it is patterned for a female hand. Adjust the
handle for your size and then adjust the blades to go with (as long as
you're doing this the detailed way for yourself.)
Confirm the final size still matches up with the quiver and costume. |

|
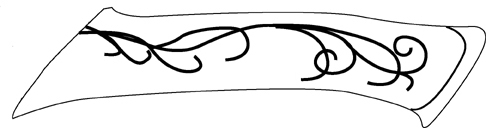
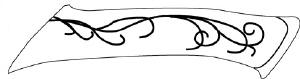
Basic pattern for knife blade, minus the tang (the metal
part that goes in the handle).
Design on the knife blade has been simplified.
It is sized to go with the handle, if you have trouble on the basic
print, size it up on the copier to the proper size. (Use top
illustration of the full knife to match the pattern pieces.) |
Basic Knife Construction
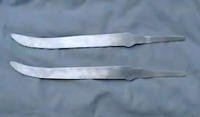 |
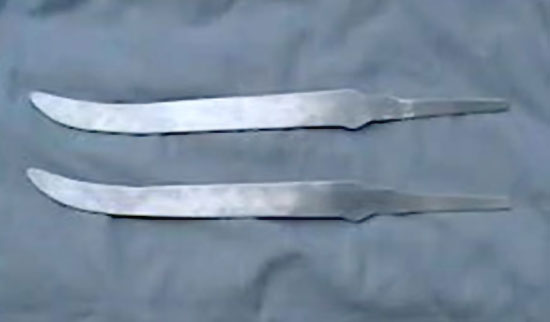
The knives were cut out of a sheet of aluminum. (I'll
admit that I didn't cut them myself - I had someone with the tools to
cut them for me.)
The edges are dull and the point was filed down so as not to actually
hurt anyone. This requires filing and dremalling. |
 |
I cut my template of the blade design out of "Frisk
Film". (Any template plastic could be used.) I bought some
hammered metal gold spray paint at Home depot. |
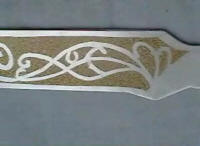 |
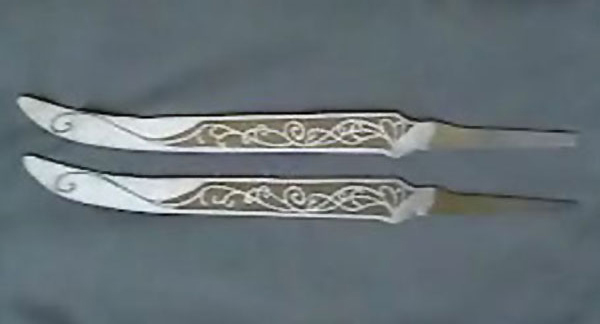
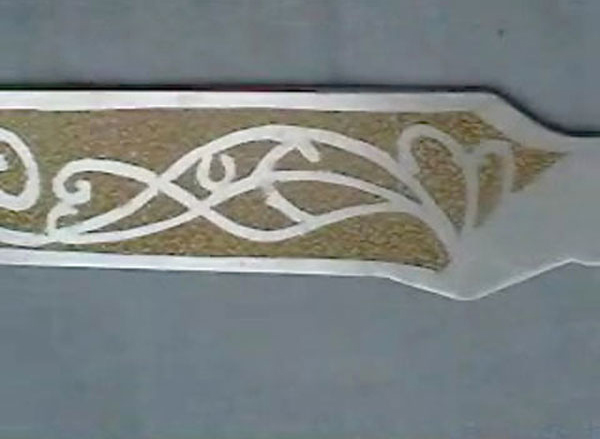
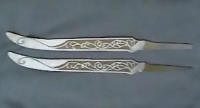
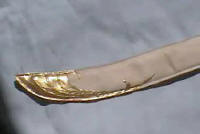
I laid down the template and sprayed
lightly. After removing the stencil, I used a fine paint brush to
touch
up the lines.
Here is the close detail. It came out quite nice. |
Making the Handle
 |
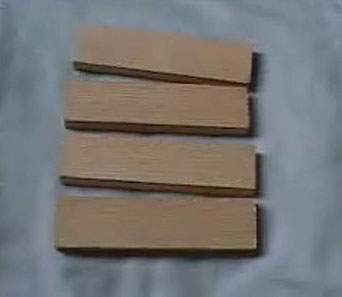
Get enough wood for 4 times the length of the handle
pattern + at least one extra inch for cutting. (it's cheep, get
more to be safe.)
Wood should be 1/2 to 3/4 inch thick
I bought this piece of Oak at the Home Depot hardware store.
It has been sawed into four pieces. |
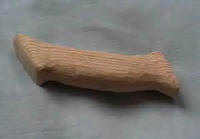 |
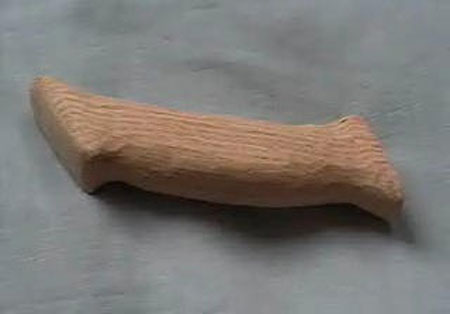
This is what happens after about 45 minutes of
dremmelling (using a dremal tool to shape and sand). Fairly happy
with the results, but would have liked it if I hadn't bought such thick
wood and also had made it longer.
|
 |
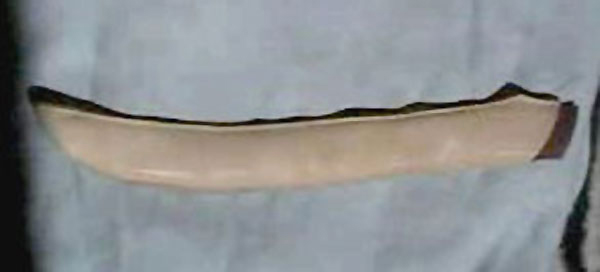
New handle - this one is made of poplar
instead of oak. This was a much easier wood to work with and much
happier with the results. The handle is also full inch
longer.
The other handle is still being used as a
tester. So I'm happy - my work didn't go to waste. |
Putting the Knife Pieces Together
|
I used a special glue to glue the knife to
the handle. It takes a full 24 hours to dry.
After that, I used wood filler to fill the
sides. I realize that this might not be the "best" way to do this, but
it's what I chose to do.
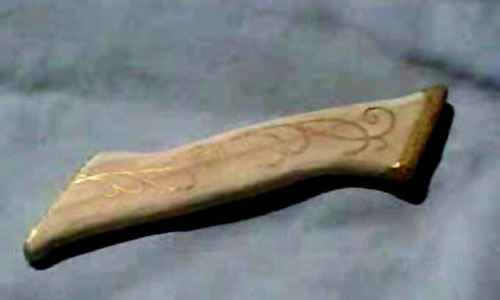
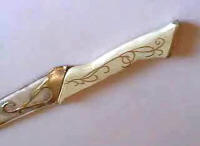
I used a spray paint to paint the handle,
then added a very thin coat of wood stain and painted the design with
gold leaf paint. The overall color of the handle is like a bone color,
rather than light brown.
|
Knife Sheath

|
My sheath is made out of leather and felt. I made a
template based on my knives. Remember to leave enough room on the
edges for a small seam allowance, and recognize that the felt will take
up a little room. I cut out the pattern with my exacto knife.
I sewed it with my regular sewing machine using "leather"
needles. Sew wrong sides together to make it work. |
 |
I just used gold fabric paint to achieve this. It's not
perfect, but I'm still very happy with the results (as this part of the
costume isn't really going to be seen much when worn). |
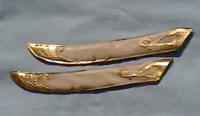 |
The sheaths after they've been decorated in the fabric
paint and then aged using "Rub 'n Buff".
I'm really happy with them overall. |
 |
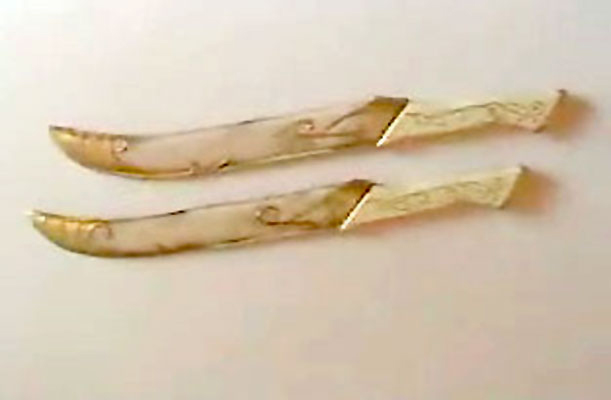
Finished! |
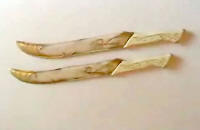 |
Knives in Sheath - Yeehaw! Finally complete after about
a week of fiddling around. This project has by far been the most
challenging and the most rewarding at the same time.
|
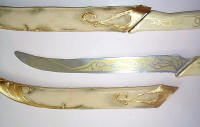 |
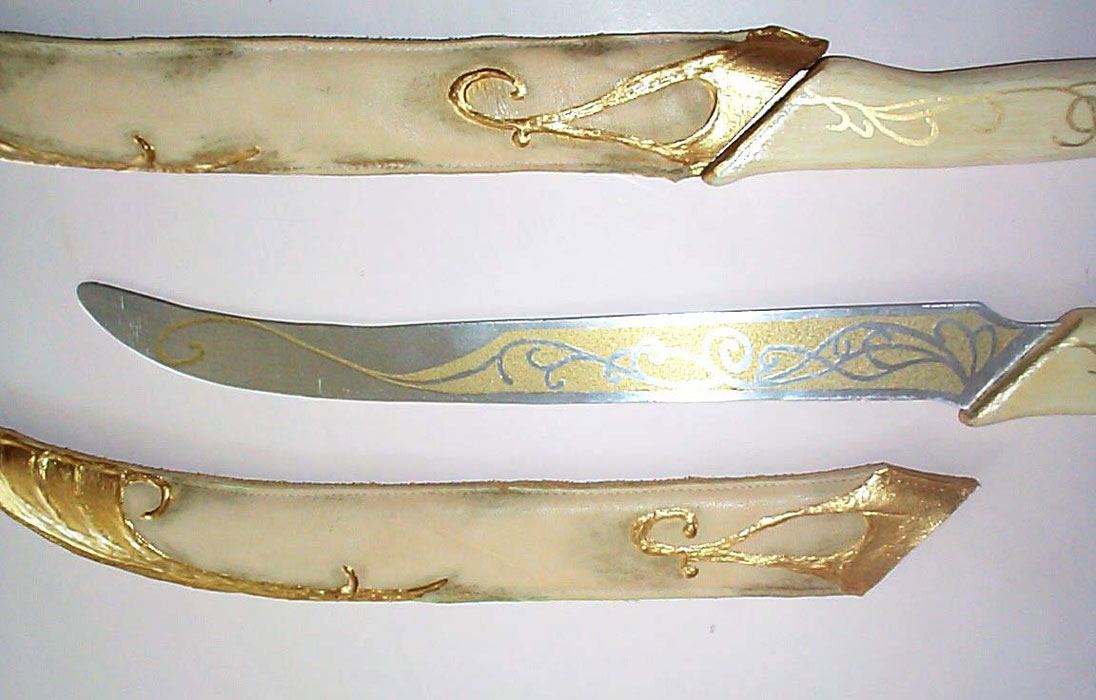
(high rez, slow load) Shows, the pieces separately and
together. |
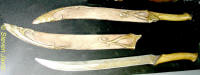 |
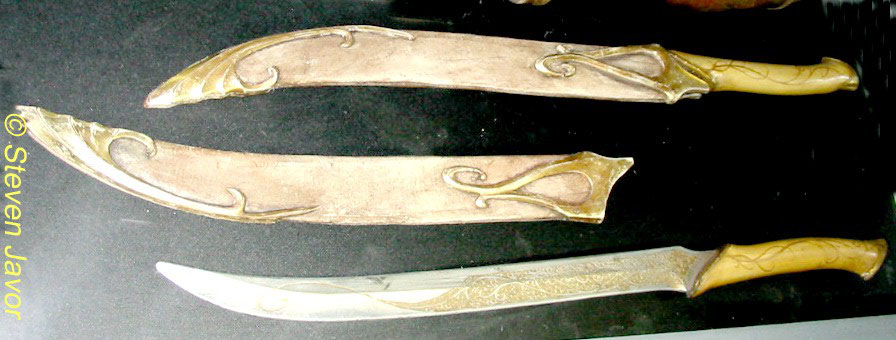
Compare with the originals. (This photo from the
Casa Loma 2001 display.) |
See more of Suzanne's
Legolas construction notes on her site.
More Knife notes
Made a pattern using
limited photos of the knives that I found online, cut them out of
aluminum, dremeled both sides to give it a sharpened edge, sanded them
down to make them smooth, painted the design down the blade in gold.
You buy a sheet of aluminum, trace the
pattern onto it and cut it with a band saw . I used a dremel to sharpen
the blade but you can use any number of things and do it much easier. Then
sanded it and buffed it.
Sculpted the handle out of clay, made a mold in silicone rubber, cast the
handle of the knife out of resin. Used yellow resin coloring to change the
color of the resin to ivory, then painted the design down the handle in
gold.
The tang (handle) on the blade was made pretty long so that it could be
cast into the resin for stability.
That's all I did. Pretty simple if you have access to all the tools.
== Tammy
Jerkin detail | Shirt | Council Velvet | Leather Armor | Legolas Kit | Coronation Robe
LOTR Home | Up | Quiver How To | Making the White Knives
This page was last updated
04/22/08
|