|
|
|
|
|
|
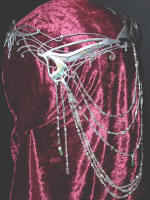
Arwen's Butterfly Crown Pattern & Construction TipsThe crown is very popular so here we preset our pattern. Included are way to size it up or down to fit your head. We're also including links to construction tip using various materials for various budgets. The Butterfly Crown PatternV2.1 - June, 2004
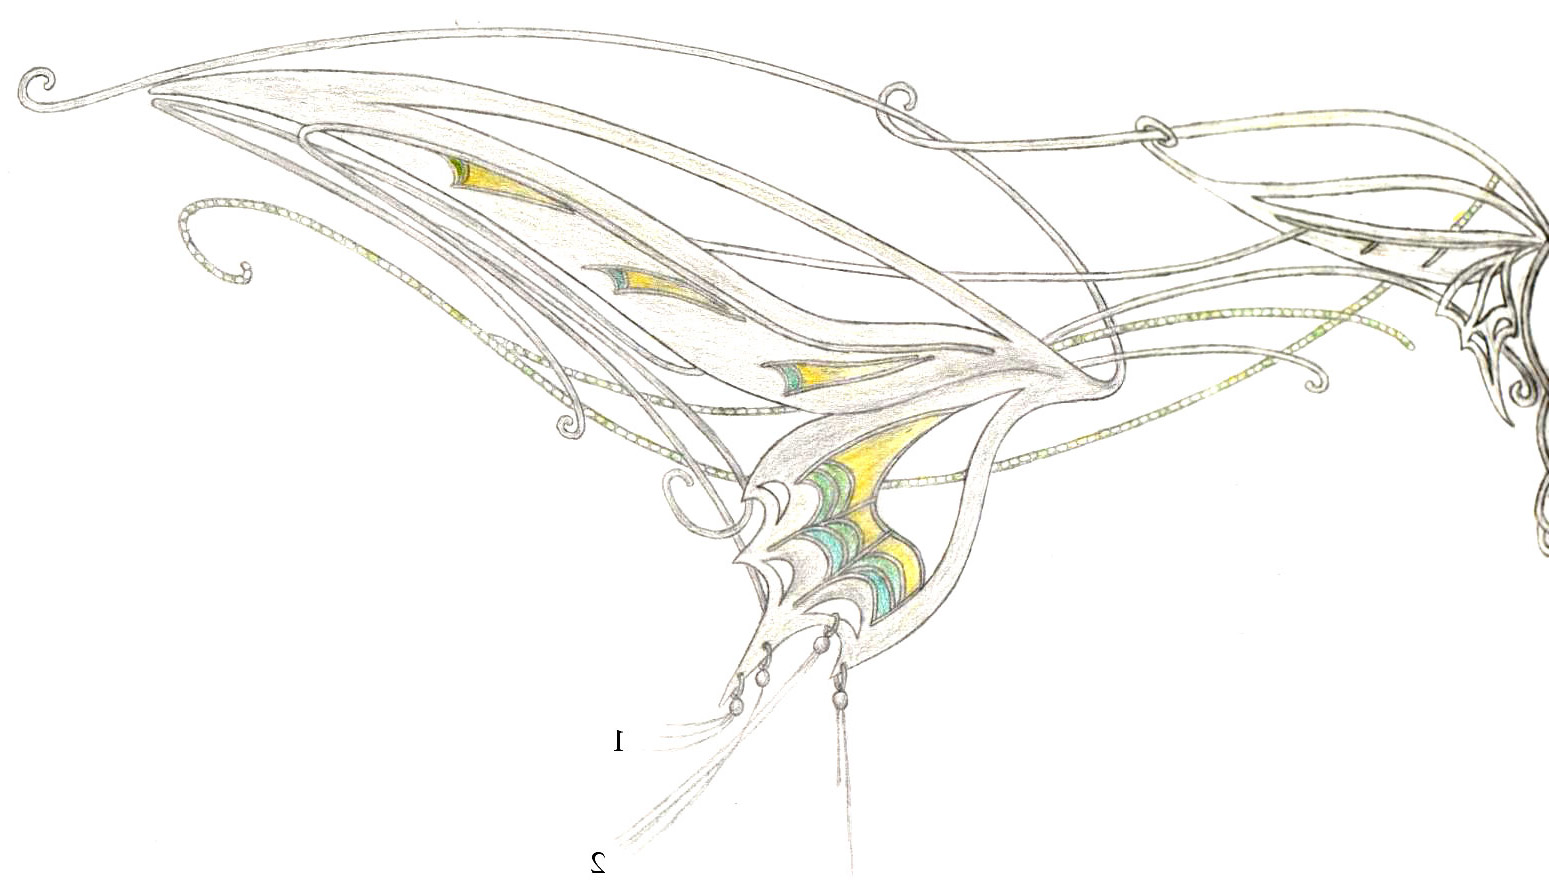
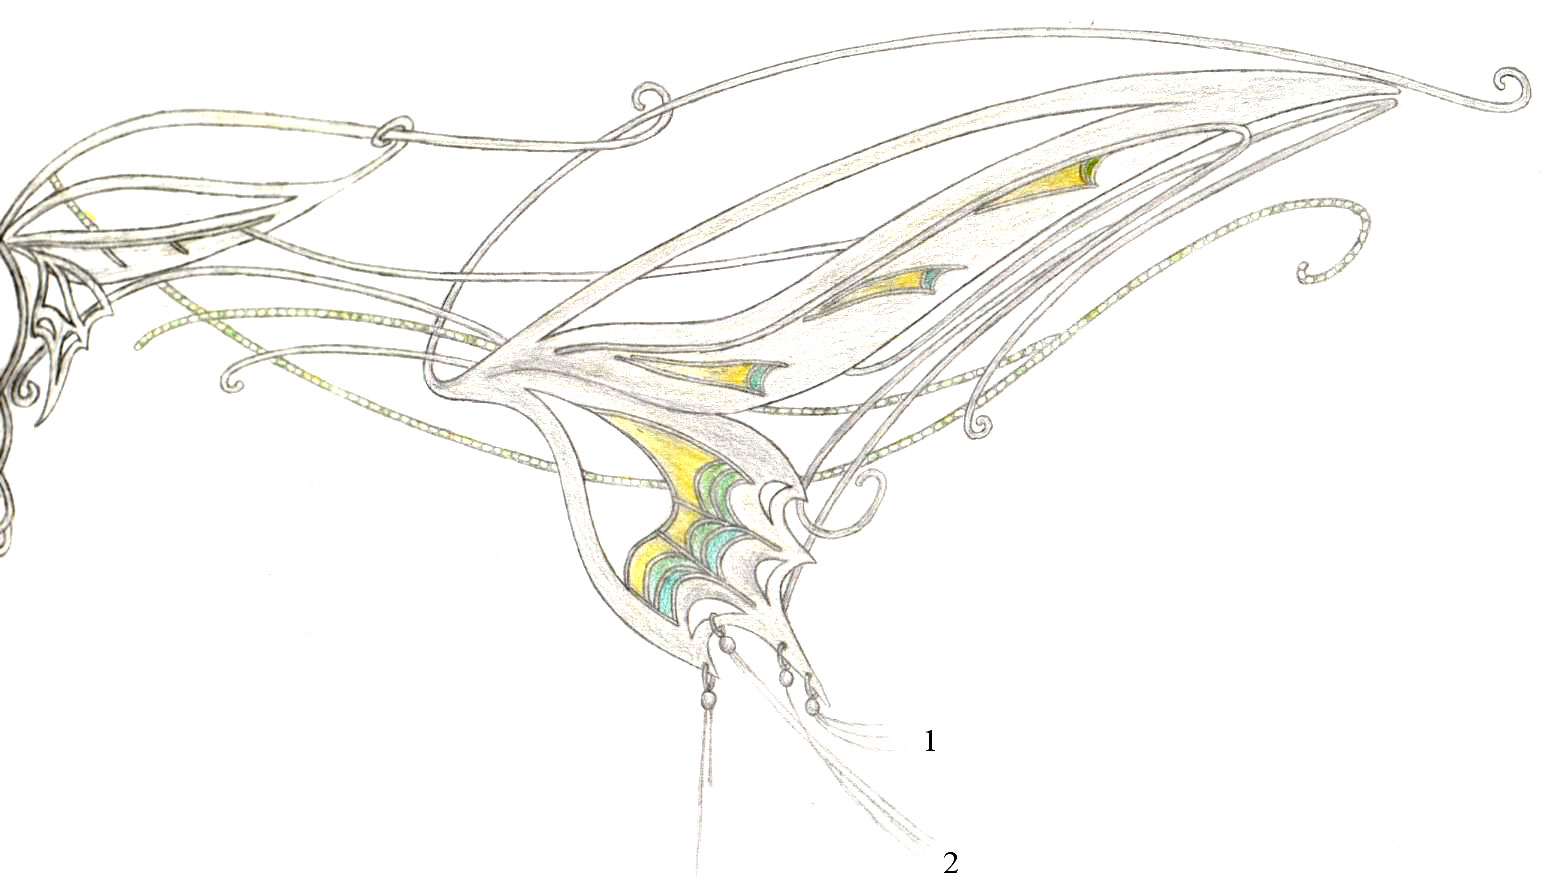
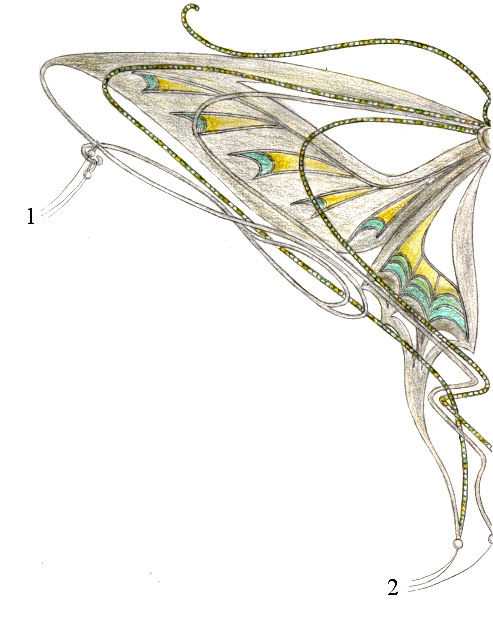
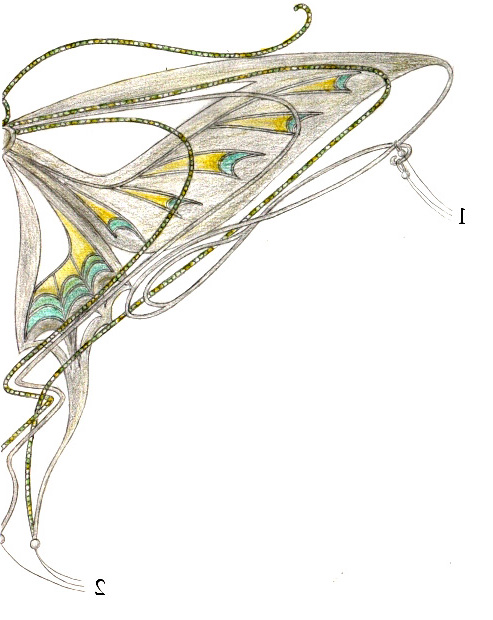
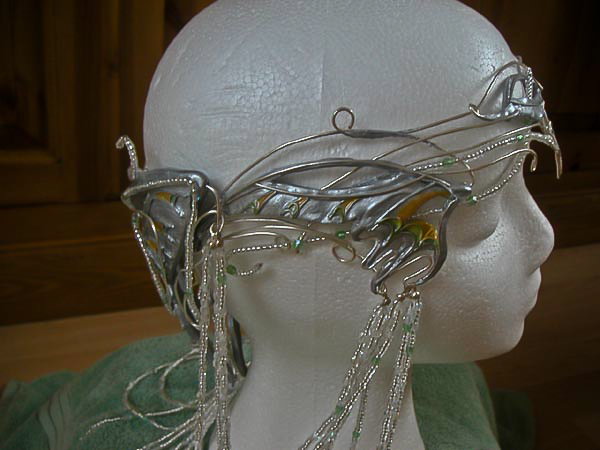
Pattern print out and adjustment instructions:Side pattern pieces:The width was 7 & 1/2 inches long (or 19cm). When I printed, about 1/2 an inch of the very back tip (tail end) of the wing didn't print, along with the wires that extended beyond that point. So, looking at Elisabeth's sketch - add those in by hand. The back butterfly section:The individual back side wing from the upper tip (outermost tip) of the wing to the center is 4 & 5/8 inches (or about 12cm). From the top tip of the wing down to the bottom tip of the tail is 6 & 1/2 inches (or 16.5cm) If you're working with a larger sheet of tin, the back can be done as one whole butterfly. Additional sizing instructions from the editor:The crown was constructed in two parts so that it could be sized over Liv's "old shaped" wig. The side was combs and pins. When you make the crown, it's length and shape is going to depend on the shape of your head AND whether you are going to be wearing a wig or not. You have three options to size it. What you choose may depend on what you have access to and how much adjustment you need to make.
If you are thinking that you will only wear it with a wig part time, you may want to make sure that there are combs built in on the side or extra little curls to anchor bobby pins in. Else, you could end up with it sliding in your face. How-To Make Arwen's Butterfly CrownCheck out our circlets section for tips on metal work and faking metal work. We have two different techniques listed plus a lot of other tips using materials you have on hand.
This page was last updated 04/22/08
|