Sidhe's Examples Ohio, USA
Click on pictures for enlargements.
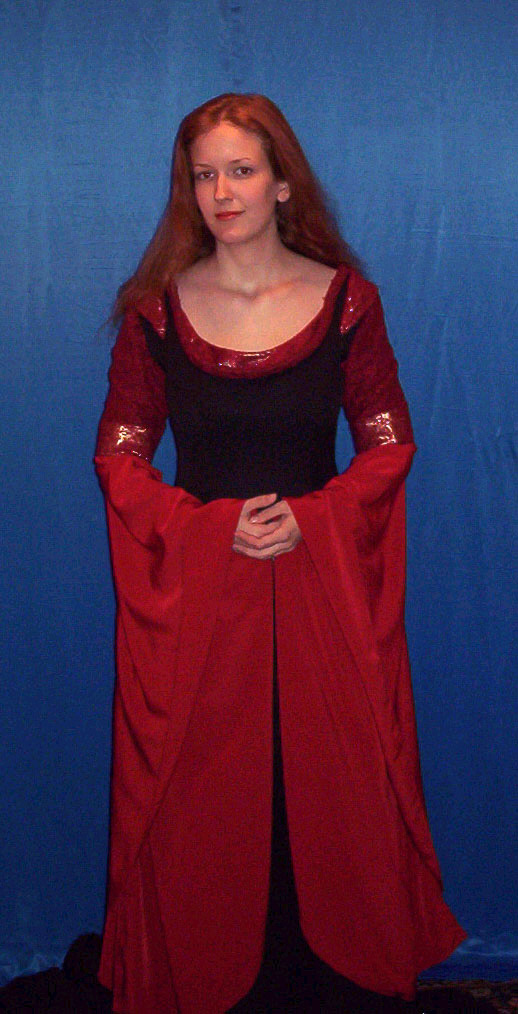
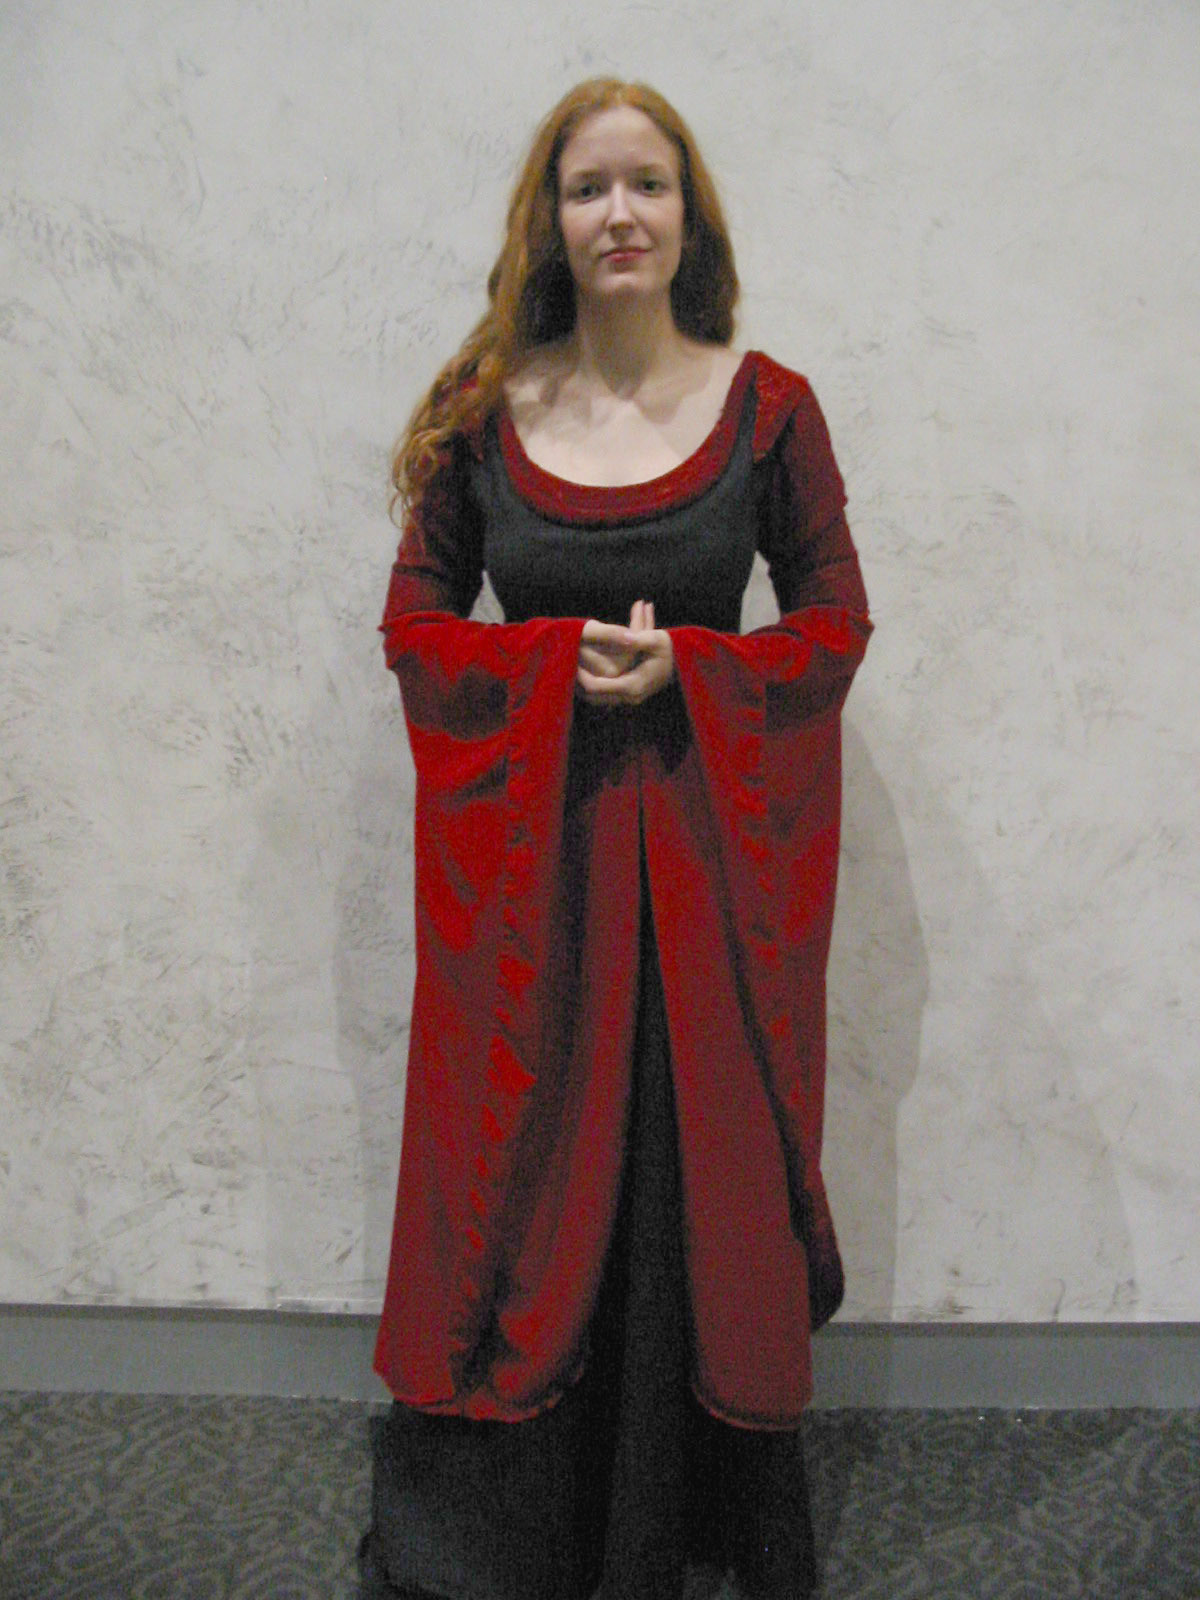
Arwen's Blood Red Dress
For this dress my mom and I used (surprise surprise) Simplicity pattern
# 9891. We did put a princess seam into the gown, just to get it to hang
better.
I'm awful at fabric names and I'm afraid I didn't record them down. The
red lace is a stretch lace with a nubby texture, and the black was just a
plain black poly crepe of some sort I grabbed off the mega discount aisle at
JoAnn Fabrics. The gold is a gold lame, and the red lower sleeves I found
out of the suiting department of JoAnn fabrics, and is a medium weight,
semi-satin like fabric. Sorry so vague here, but the bottom line is my dress
cost me $25 all told. Goes to show you you CAN do costumes on a limited
budget. :)
 To
start, we simply combined the fitted sleeves in the pattern to the basic
princess seamed body, and constructed the dress as just a simple one-piece.
The shoulders had a slight fullness at the top, but I wasn't worried about
that, because the cap sleeve we later added hid it completely. The neckline
we constructed very very low, so that we could later add the "underdress"
neckline later, which was actually just a doubled, curved, finished piece of
fabric only large enough to tuck down into the neckline. As I said earlier,
we had purchased a sublime blood red paisley stretch lace to do the
ornamented part of the gown. For the upper sleeves, we layered the black of
the body of the garment underneath the red lace. For the gold of the lower
armbands, I was obsessed with not just putting a fabric OVER the upper
sleeve, because it's obvious from pictures that the upper sleeve creates a
seamless line, including the gold area. I wanted it all to look like one
fabric. So our idea was to put a band of the gold lame under the lace
fabric around the elbow. We ran into trouble when we discovered that the red
lace didn't stretch enough over the gold to reveal the under-color enough.
Sooooo....we used a very very stiff upholstery material in a band around
both arms and stretched the red lace tighter in this area so the gold could
show through. If this seems confusing to you, it did to me too....my mom is
an amazing seamstress and she took over completely at times like this :)
To
start, we simply combined the fitted sleeves in the pattern to the basic
princess seamed body, and constructed the dress as just a simple one-piece.
The shoulders had a slight fullness at the top, but I wasn't worried about
that, because the cap sleeve we later added hid it completely. The neckline
we constructed very very low, so that we could later add the "underdress"
neckline later, which was actually just a doubled, curved, finished piece of
fabric only large enough to tuck down into the neckline. As I said earlier,
we had purchased a sublime blood red paisley stretch lace to do the
ornamented part of the gown. For the upper sleeves, we layered the black of
the body of the garment underneath the red lace. For the gold of the lower
armbands, I was obsessed with not just putting a fabric OVER the upper
sleeve, because it's obvious from pictures that the upper sleeve creates a
seamless line, including the gold area. I wanted it all to look like one
fabric. So our idea was to put a band of the gold lame under the lace
fabric around the elbow. We ran into trouble when we discovered that the red
lace didn't stretch enough over the gold to reveal the under-color enough.
Sooooo....we used a very very stiff upholstery material in a band around
both arms and stretched the red lace tighter in this area so the gold could
show through. If this seems confusing to you, it did to me too....my mom is
an amazing seamstress and she took over completely at times like this :)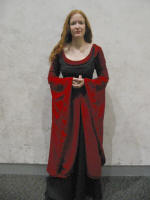
The lower sleeves we constructed as a lopsided circle, and the only seam
in the sleeves runs from the elbow down to the lowest point. For the
overdress neckline "trim", we took some of the red lace, and curled a
stiffer black felt into a tube, then layered the red fabric over it, and
hand-stitched it to the neckline.
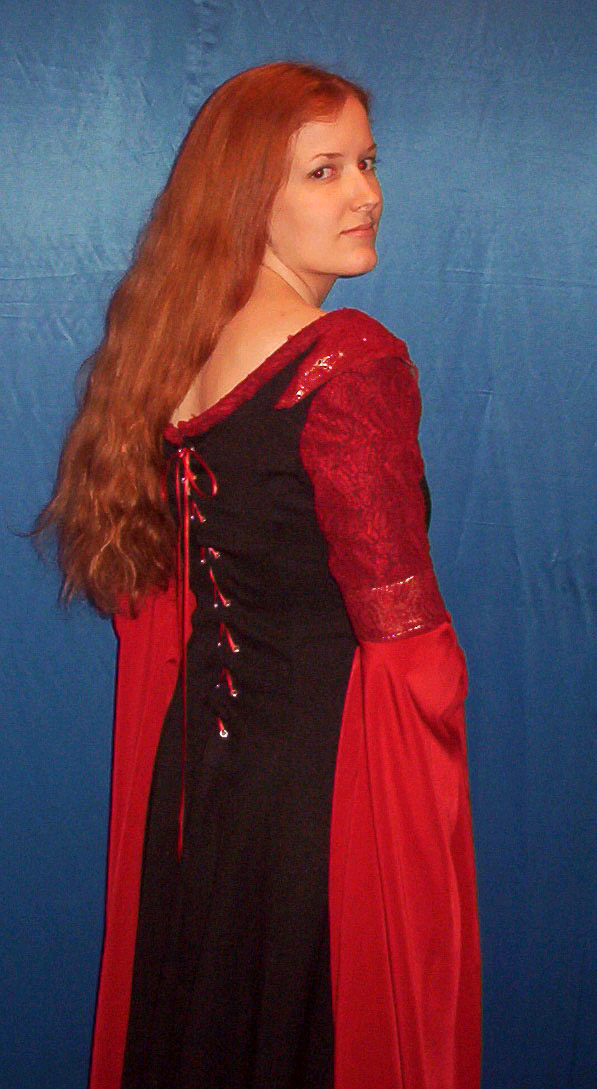
Finally, we were ready for the last few steps. We took a grommet gun and
some grommets and put 8 on each side in the back of the gown, lacing it with
red ribbon.
We then cut a half circle shape from the gold and red fabrics, and
layered them together to make the cap sleeves, making a small gather on the
circular side to curve it over the shoulders.
We cut another layered piece of the gold and red for the neckline, and
then we stood in front of the mirror with a picture of Arwen's gown beside
us, and probably spent about a half hour with mom making slight adjustments
to the position of the cap shoulders and the neckline while I said
"no...lower" or "it's too poofy". FINALLY we tacked down the caps and the
faux underdress neckline, mom hemmed the gown and made a few final touches,
and we were done!!!

Elf 1 | Elf 2 | Elf 3 | Elf 4 | Elf 5 | Elf 6 | Elf 7 | Elf 8 | Elf 9 | Elf 10 | Elf 11 | Elf 12 | Elf 13 | Elf 14 | Elf 15
Home | Up | Jen G's Examples | Karli & Jackie | Cathy's Examples | Sidhe's Examples | Tammy's Examples
This page was last updated
11/21/09