Lady Luke Skywalker - Utah, USA
I have been sewing for 11 years and have been making costumes
for myself for 9 of them. I decided to be a costumer and started making
costumes for other people professionally about 4 years ago. However,
making pretty things for myself is still my passion. Arwen’s BR dress
is one of my favorites in her wardrobe.
A full article on how I made this dress along with pattern sketches
and instructions can be found <here>.
I have worn this dress to a few events. Check out the
photo gallery of my group’s website here:
www.audiblebeauty.net/dorianmirth
 |
 |
 |
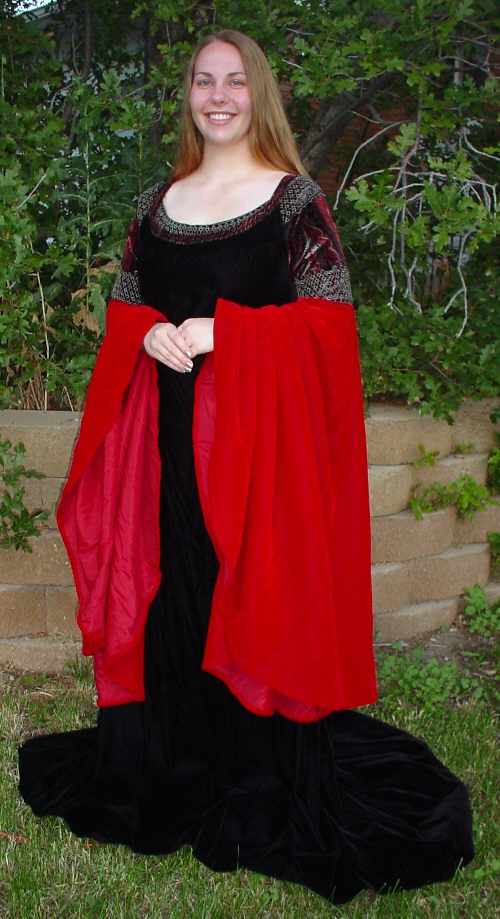
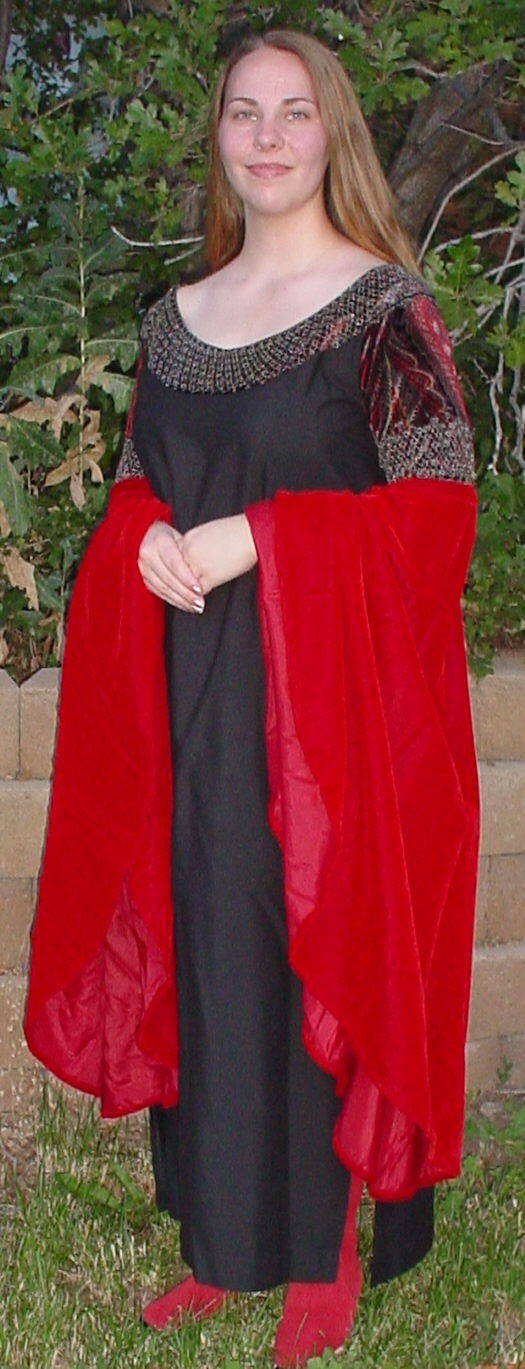
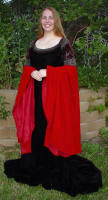
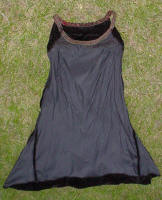
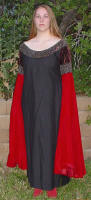
| Presenting Lady Luke Skywalker’s version
of Arwen’s BR dress. Please don’t pay attention to the wrinkly nature
of the dress. I forgot to steam the thing before taking pictures . . . |
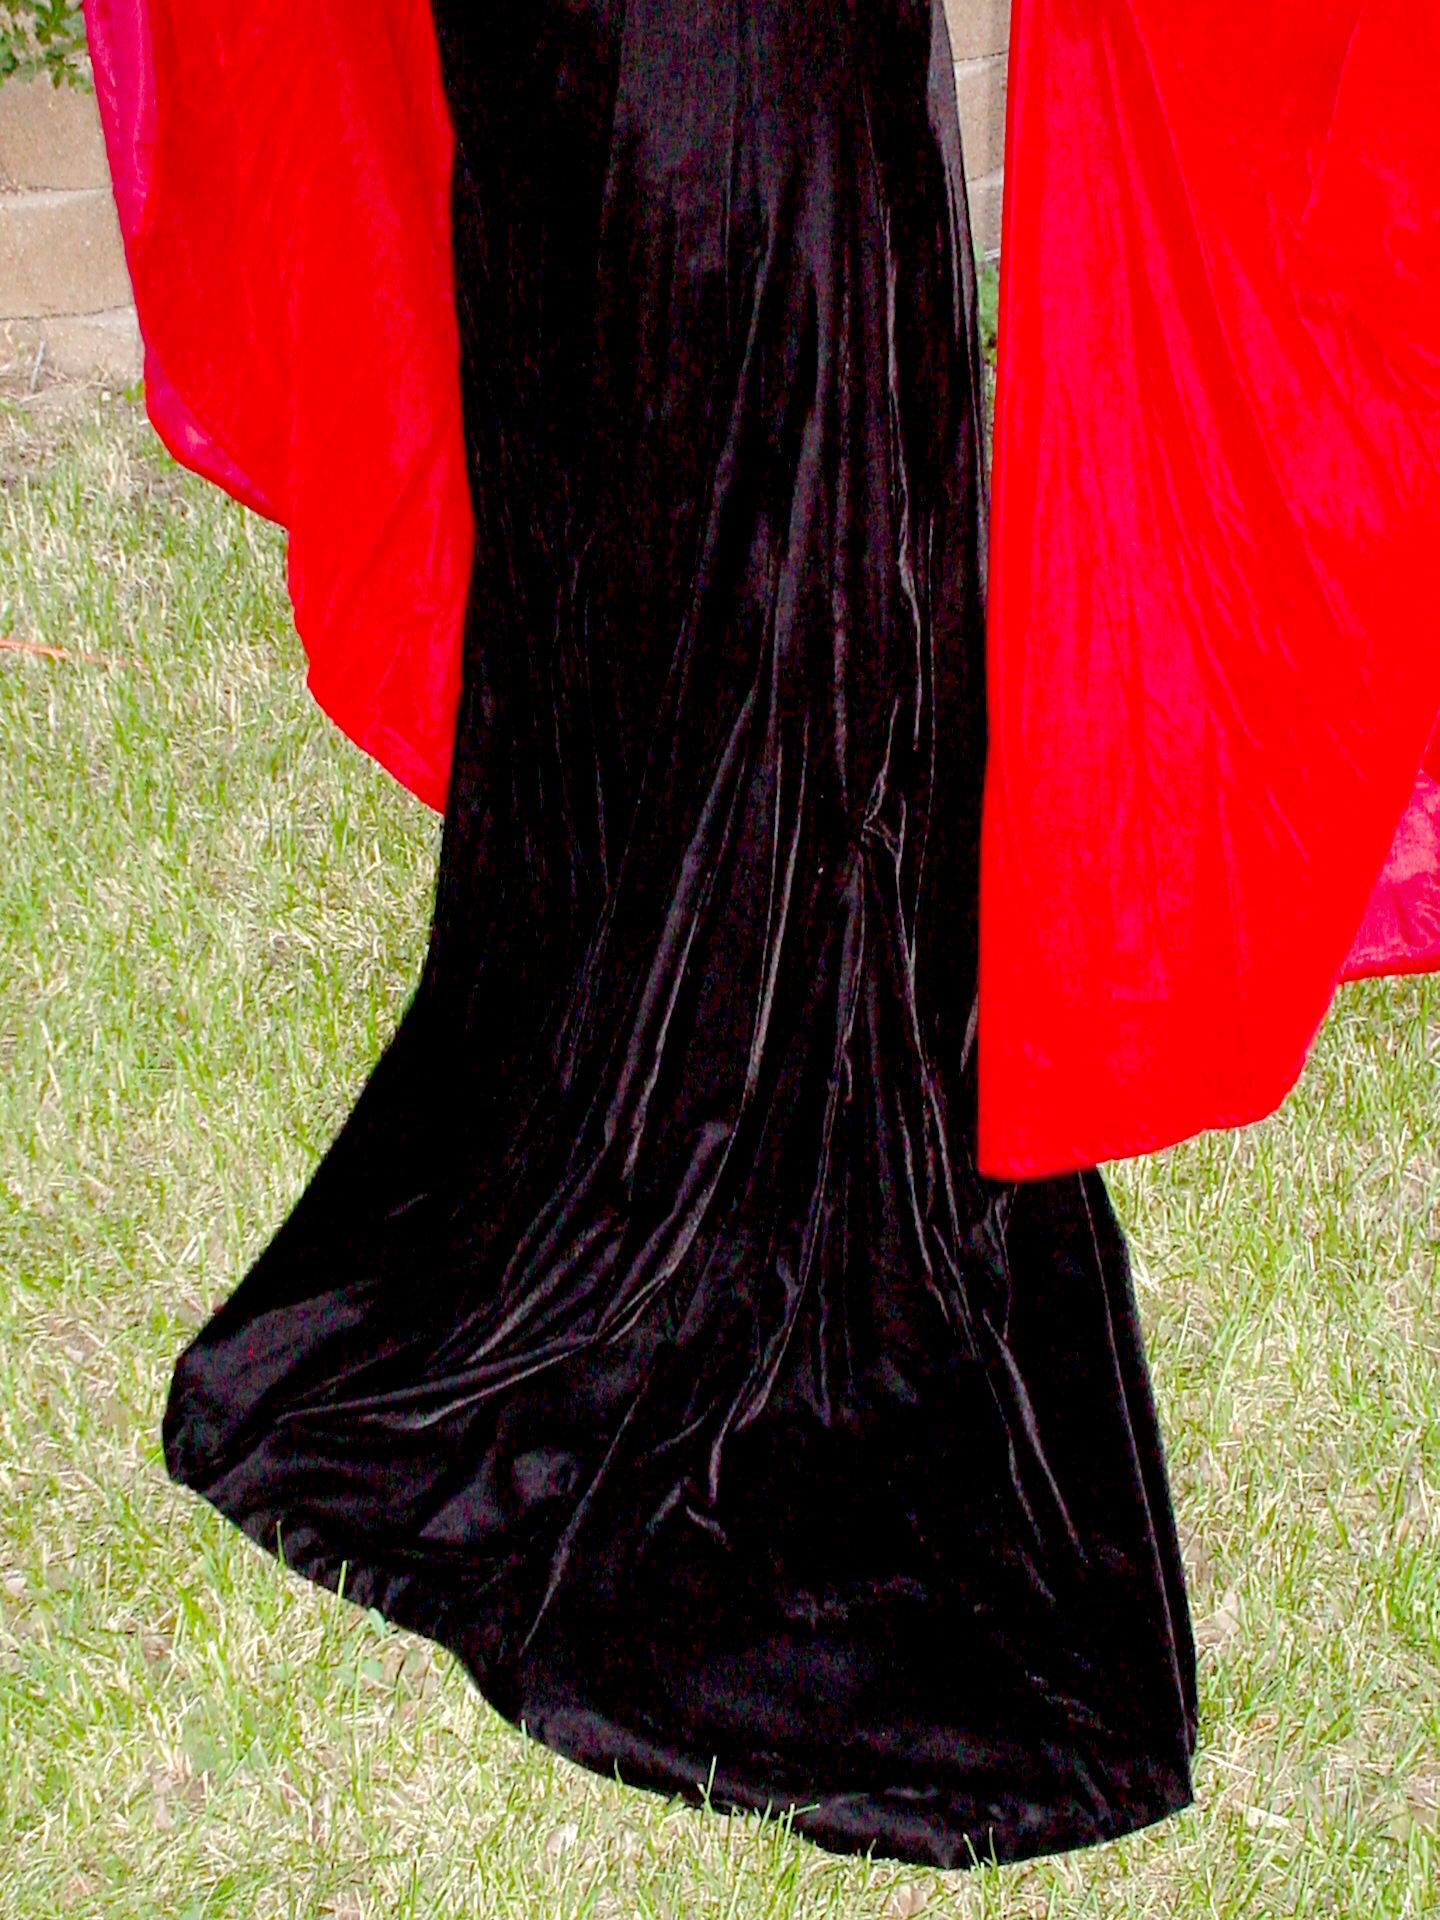
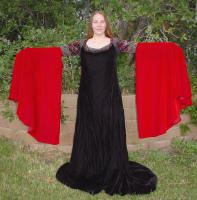
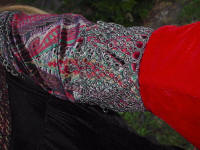
Showing the sleeves with them covering my hands.
You can sort of tell that they are more elliptical than half circles are
traditionally. |
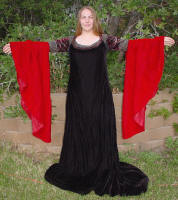
With the sleeves folded to reveal
my hands. |
 |
 |
 |
|
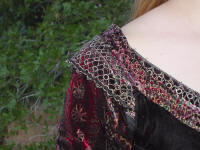
Showing the basic pattern of the overdress. This
is the wrong side of the fabric so that you can see the seams. |
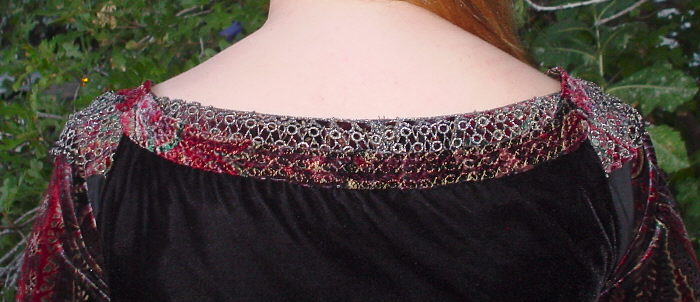
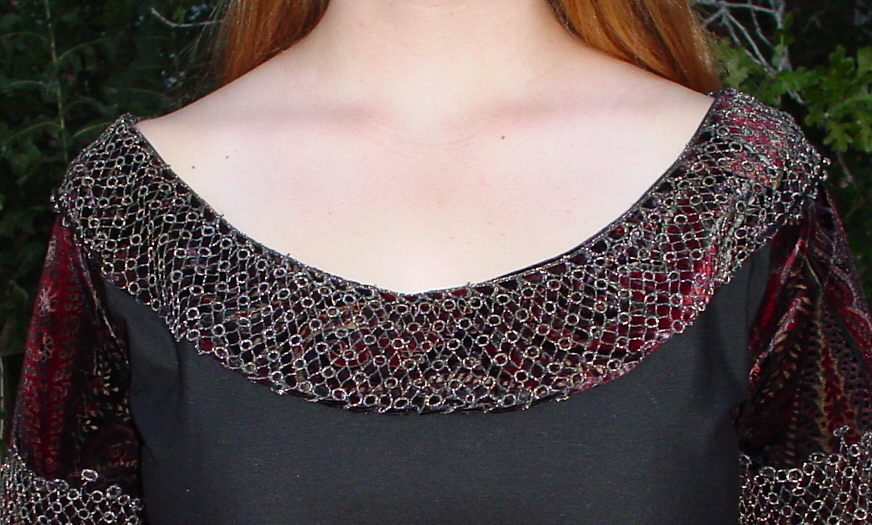
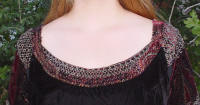
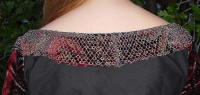
This is the front view of the overdress
neckline. The line is much more of a scoop as opposed to the boat shape
of the underdress. |
This picture shows that I chose for my
overdress neckline to cover all but 1” of the underdress trim. I don’t
know how accurate that is, but I decided it’d help keep the dress on –
and it does. |
 |
 |
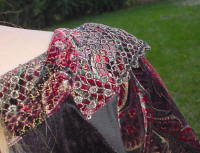 |
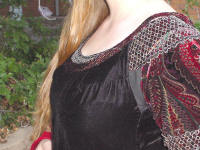
| This is a poor picture of the dart I was
obliged to put in the overdress (I was wearing the wrong undergarments
in this picture, which explains the puckering) It also shows the black
under dress and the trim which is not a sleeve cap in my version. |
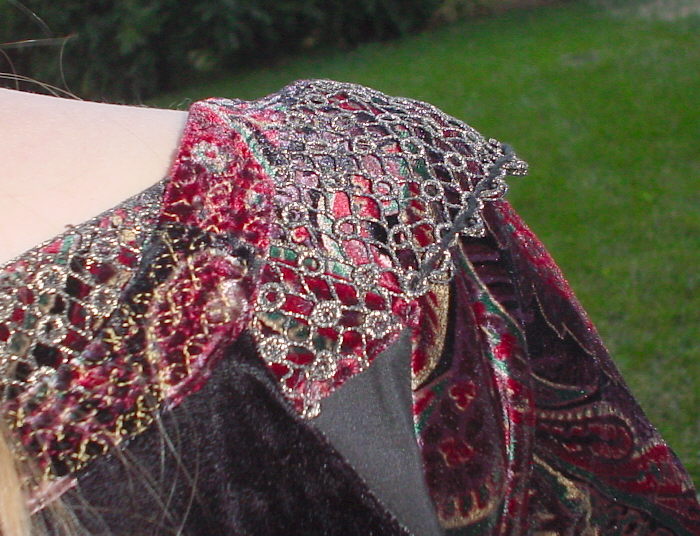
I added the black floss at the edge of the
underdress trim to better imitate the trim used on Arwen’s dress.
|
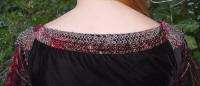
Shows the twill under dress, non-sleeve cap trim,
and over dress “trim” from the back.
|
 |
 |
 |
|
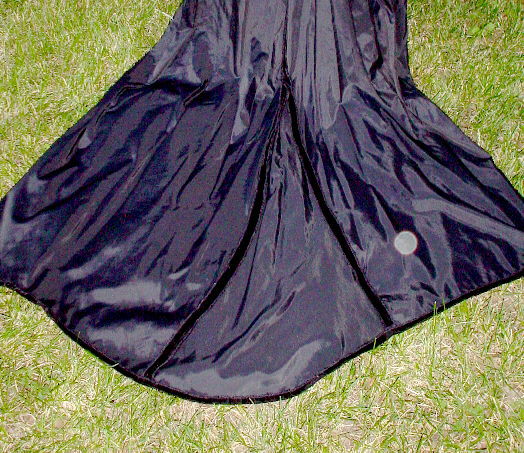
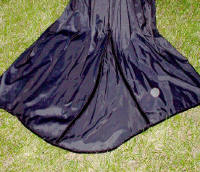
This is the wrong side of my fabric, showing the
seam lines of the inserted godet. You can see the necessary curvature
of the hem as it segues from the front hem line to the longer back
hemline. |
This shows how well the godet blended
in. Much better than I’d hoped for in fact. |
Presenting the underdress in all
it’s glory. With arms up |
 |
 |
 |
| With arms down. (Don’t mind the
look on my face. I really WAS happy!) Notice that the front of the
sleeves are slightly shorter than the back. |
This picture shows the boat-like neckline
of the underdress. I have a “shorter” décolletage than Liv Tyler, so my
neckline is not quite as deep as hers. However, if I’d made it any
lower, excessive cleavage would have been the result. |
You can see the seam of the trim in
(sort of) center back. |
 |
 |
 |
| Once again, you can see the floss
detail. I only did it over the sleeve since the edge of the trim is
hidden by the overdress everywhere else. |
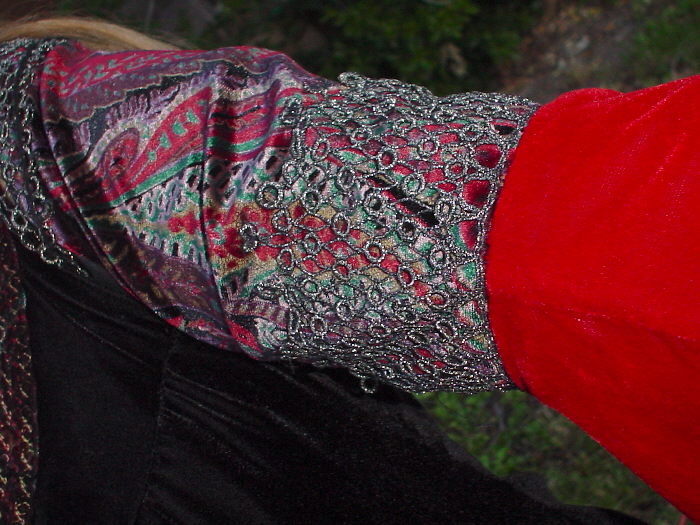
This is showing the upper sleeve, lower
trim and the inside seam of the lower sleeve. |
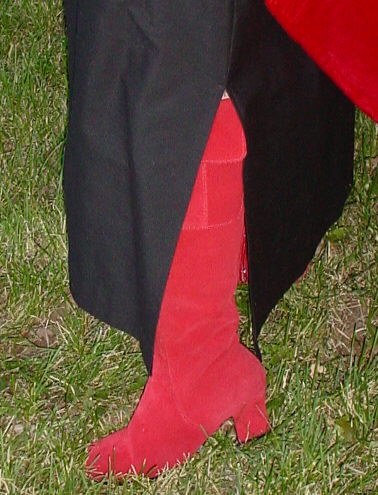
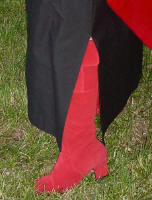
I had to put in a slit to
facilitate walking. Also, I hemmed the underdress to about my ankle.
Probably not accurate, but I did it to facilitate movement, while trying
to remain modest when keeping my overdress well off the ground. |
Extra note: I took these pictures quickly and did not
wear the normal undergarments I wear with this dress. It is importance
to wear the same (and proper) foundation from the measuring stage, though
fitting to whenever the final product is worn.
Reminder again, a full article on how this dress was
made along with pattern sketches and instructions can be found <here>.

Elf 1 | Elf 2 | Elf 3 | Elf 4 | Elf 5 | Elf 6 | Elf 7 | Elf 8 | Elf 9 | Elf 10 | Elf 11 | Elf 12 | Elf 13 | Elf 14 | Elf 15
Home | Up | Joelle's Examples | Lady Luke's Examples
This page was last updated
11/21/09