Firnrothiel's Examples
California, USA
Click on pictures for enlargements.
Pattern:
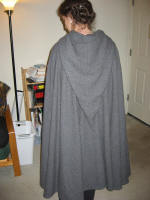
I started with the Fellowship Cloak pattern on ACS, and modified it
slightly (mostly in the shape of the hood piece and the attachment of the
hood to the neckline).
Pattern Modifications:
 We
(being my mom and myself) ended up changing the shape of the hood pattern
piece -- instead of a symmetrical kite piece, we curved the edge that was
going to attach to the neckline; we based the curve on a pattern piece from
a commercial cloak pattern. We also reduced the diameter of the neckhole to
around 6 1/2 inches. Finally, we used the selvage along the front edge (so
no hemming would be required), so we had to change slightly the way the hood
and cloak pieces attached. My mom worked some sort of magic and got
everything to fit together pretty well.
We
(being my mom and myself) ended up changing the shape of the hood pattern
piece -- instead of a symmetrical kite piece, we curved the edge that was
going to attach to the neckline; we based the curve on a pattern piece from
a commercial cloak pattern. We also reduced the diameter of the neckhole to
around 6 1/2 inches. Finally, we used the selvage along the front edge (so
no hemming would be required), so we had to change slightly the way the hood
and cloak pieces attached. My mom worked some sort of magic and got
everything to fit together pretty well.
Fabric:
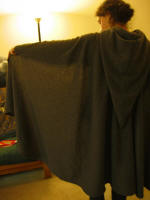
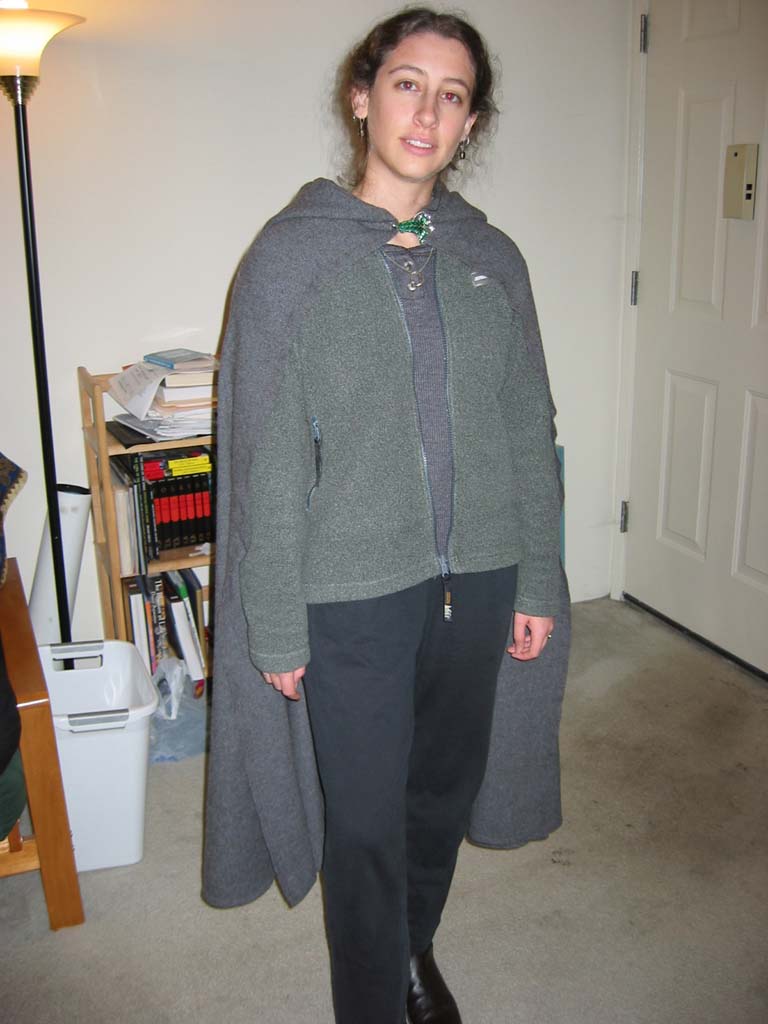
A medium-dark grey wool/camel hair weave I found at Stonemountain and
Daughter Fabrics in Berkeley, CA. The weave pattern is basic and boring, but
the color and feel of the fabric is beautiful.
http://www.stonemountainfabric.com/index.html
Notes about Building:
The hardest part (and longest part) about this project was finalizing the
pattern and finding a fabric that would work. It was also very
nerve-wracking to cut into that beautiful material once I had found it.
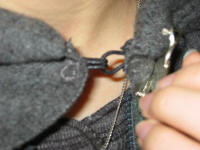 I
was able to get the fabric cut in one evening. Then it took another evening
or two to sew everything together. (But my mom did some unexpected sewing
during the day.) Finally, I hand stitched the hook and eye a few times
before I was satisfied. So, once you work out the pattern and find the
fabric, this is a pretty fast project.
I
was able to get the fabric cut in one evening. Then it took another evening
or two to sew everything together. (But my mom did some unexpected sewing
during the day.) Finally, I hand stitched the hook and eye a few times
before I was satisfied. So, once you work out the pattern and find the
fabric, this is a pretty fast project.
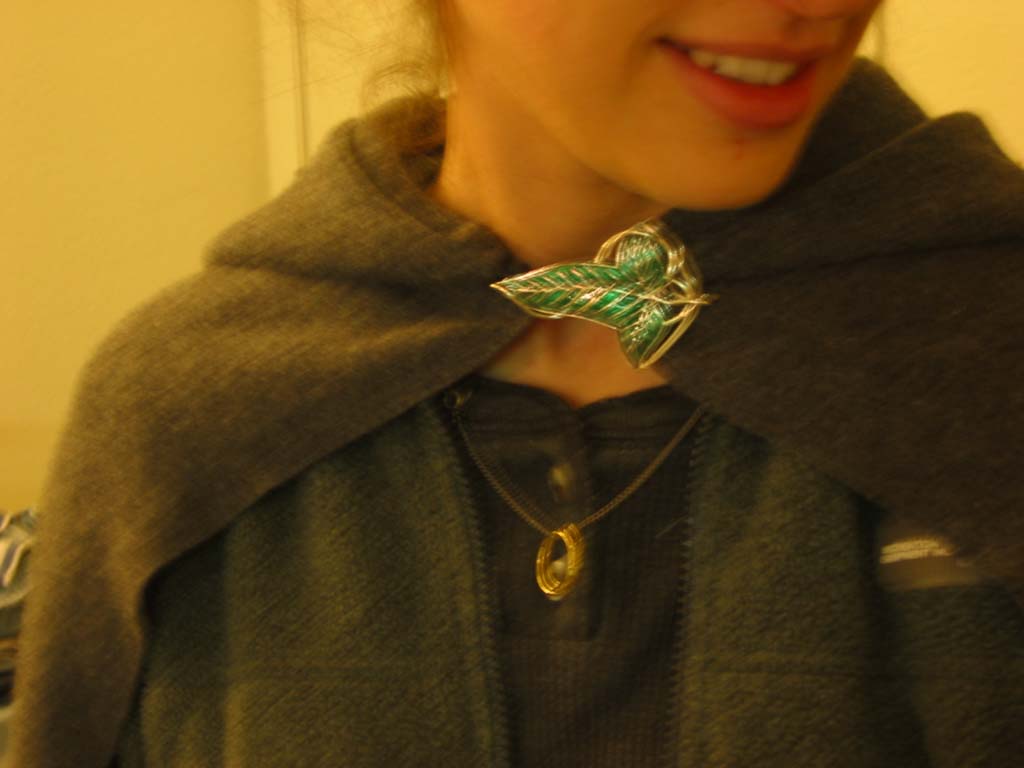
For the mallorn leaf pin, I just bought the one from New Line. It's
beautifully made, but be warned that the pin backing is vertical (in other
words, it's only on one side of the pin, running up and down, instead of
across the gap).
A few tips from a novice sewer to other novice sewers:
 A
very important thing (if you want to get a similar look to the cloaks in the
film) is to find a material that is loosely woven and will give over the
shoulders.
A
very important thing (if you want to get a similar look to the cloaks in the
film) is to find a material that is loosely woven and will give over the
shoulders.
Spend lots of time measuring and marking.
I took at least an hour to mark out the quarter circle for the cloak (a
half circle, cut on a fold). And use lots of pins to hold things steady.
I panicked when I cut out the neckhole, and then found that it stretched
really big when I tried it on. We fixed this by running a line of stitching
around the hole, pulling on the string until the hole was the right size
again, and then hitting it with a blast of steam from an iron. Also,
remember, when you attach the hood, everything will look better. :)