
![]()
![]()
|
|
|
|
|
|
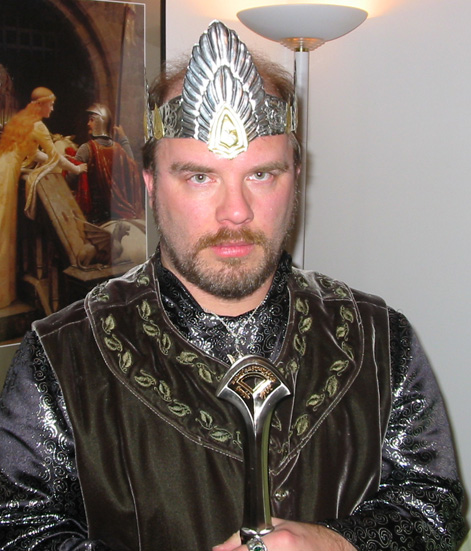
Christine - Ohio, USAKing Elessar's Crown
|
Art Emboss foil by American Art Clay Co., Inc.
I bought mine at Joann ETC. |
I enlarged this picture;
www.theonerign.net/scrapbook/merchandise/posters_calendars/view/9994
(inactive web link) on
a copier until the "wing" section was about 4.5 inches tall.

I traced the outline of the wing shape and of each "feather" onto the pewter embossing metal with the point of the wooden tool (following the instructions that came with the kit). I cut it out with scissors, then turned it over and used the round end of the tool to "bump out" the center of each "feather".
I made two of the large wings, one for the front and one for the back.
Then I traced, cut and "bumped out" only the smaller inside "wing" for the two side pieces.
I used the same process with the gold colored foil to make the 4 small gold pieces that are on the front of the silver wings, and the smallest gold pieces that attach to the crown between the silver wings. I used "Goop" adhesive (bought at Home Depot) to glue the gold pieces to the silver wing pieces.
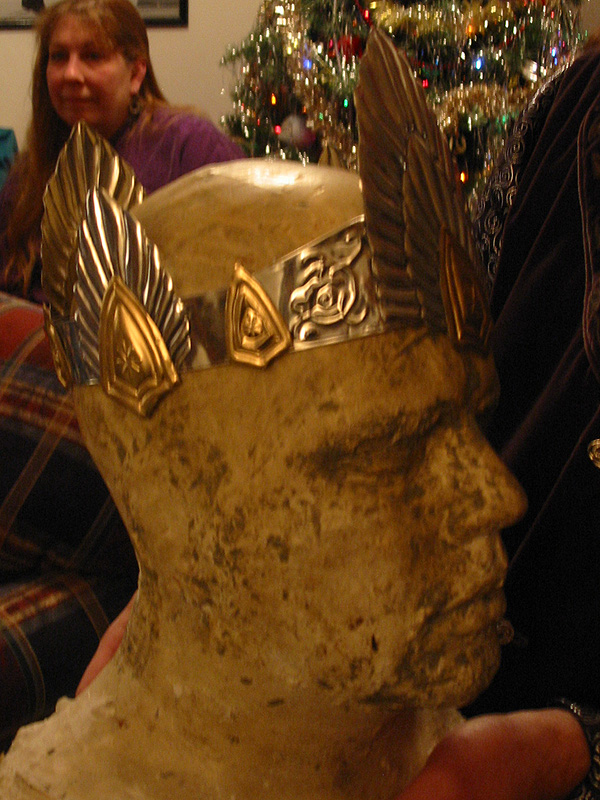 I
cut crown band pieces from the rest of the pewter metal (the pewter metal
sheet is only 9 by 12 inches). I cut them about 1 3/8 inches wide and
folded 1/8 inch under on each edge, so it would not be sharp.
I
cut crown band pieces from the rest of the pewter metal (the pewter metal
sheet is only 9 by 12 inches). I cut them about 1 3/8 inches wide and
folded 1/8 inch under on each edge, so it would not be sharp.
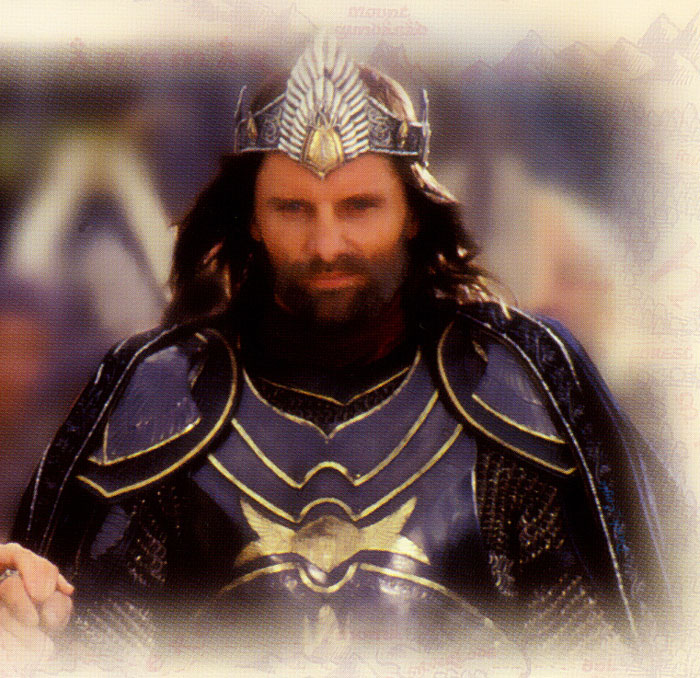
The front band is wider in the center front. For reference see here: http://www.alleycatscratch.com/lotr/Human/Aragorn/Ceremonial/aragorncer_Fat.jpg
I pressed the "knot" design into the band with the point of the wooden tool.
I fitted the band around Lee's head, taping it in place with masking tape. I wired and soldered the joints together (but I think hot glue would work just as well), making sure that the joints were where the wings would cover them.
Then I hot-glued (low temp) all the wings and pieces into place.
Finally, I lined the crown band by hot gluing a piece of 1 " wide grosgrain ribbon inside it. This was to cushion it, but I think it also helps to stabilize it, since the metal foil is very soft.
The crown looks pretty good, but it bends very easily. And since the decorative pieces sick down below the band, you can't set it down on a flat surface without bending the bottoms of them. It has to be stored on a wig stand.
![]()
![]()
This page was last updated 11/21/09