
![]()
![]()
|
|
|
|
|
|
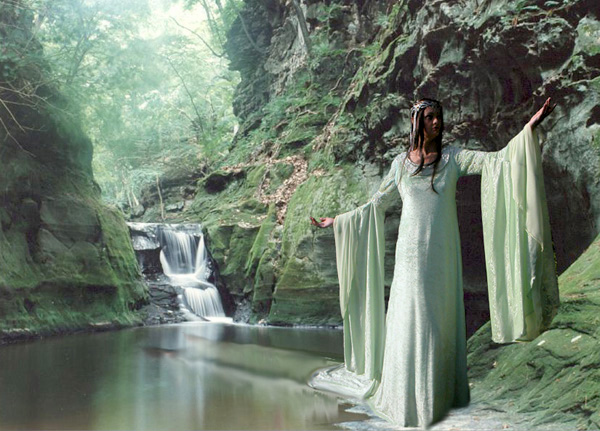
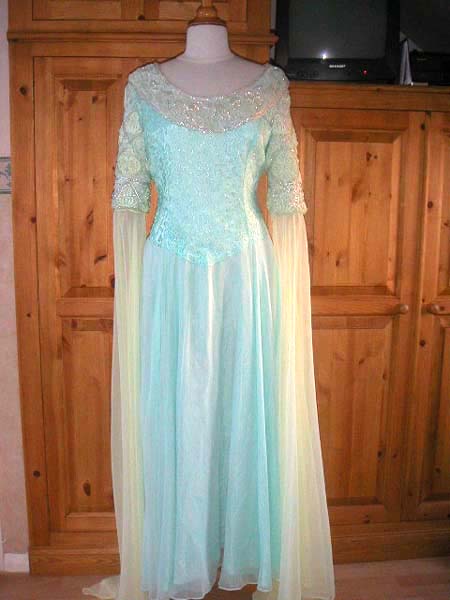
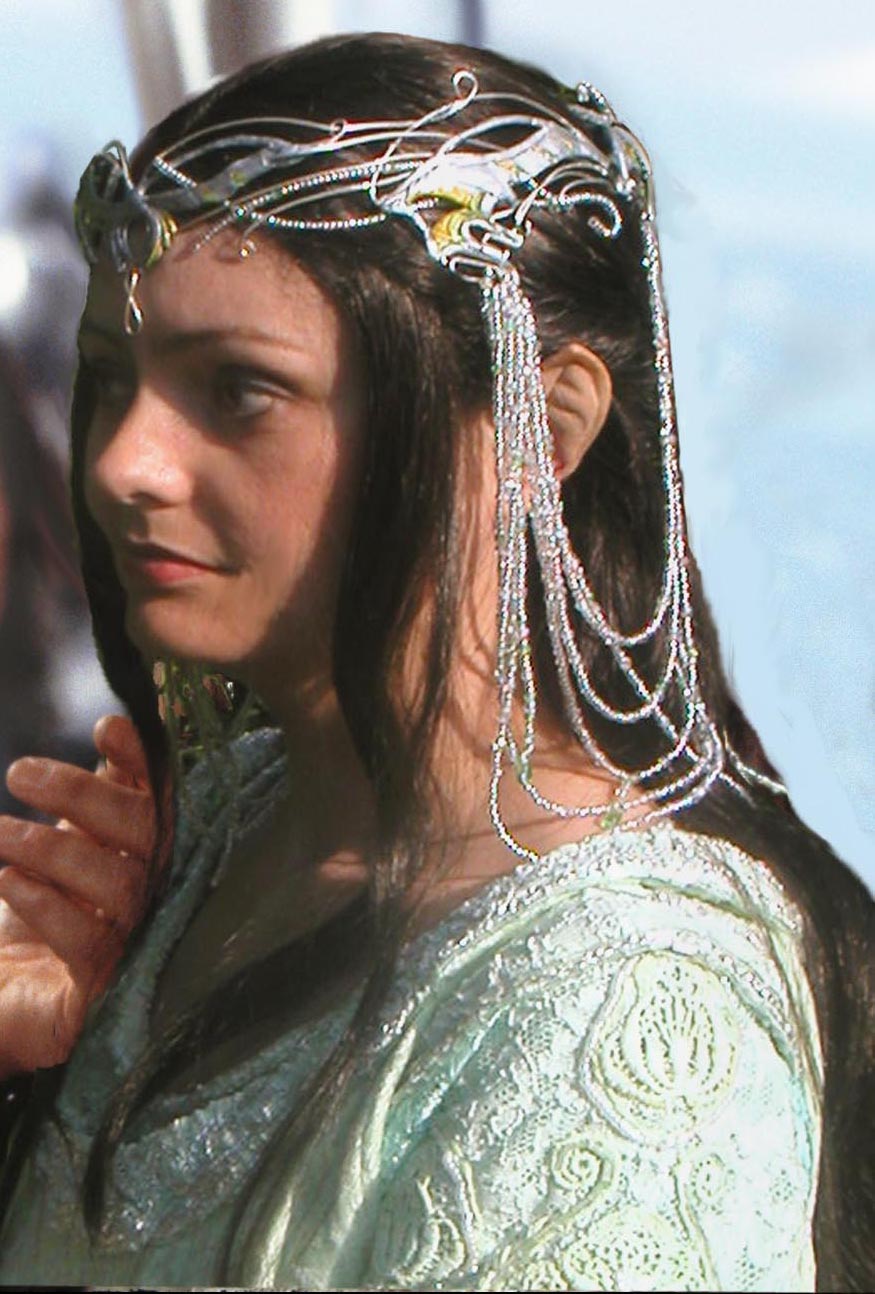
Michelle P. - United KingdomArwen's Coronation Gown
|
 |
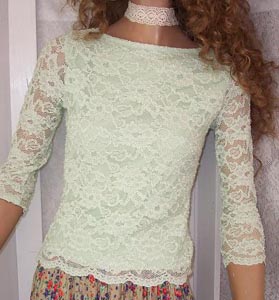 |
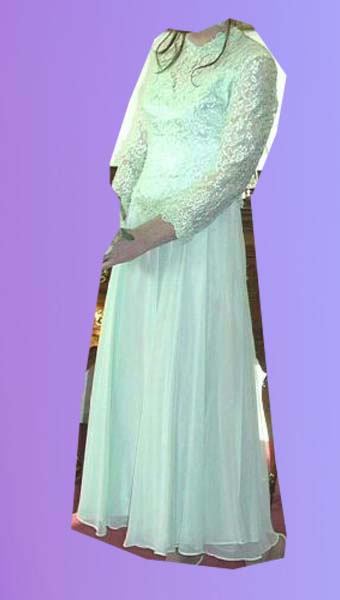
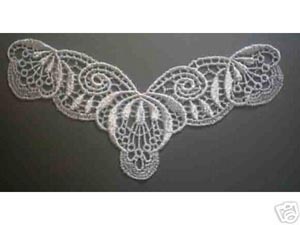
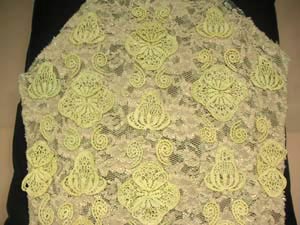
3. I found some white lace appliqués on eBay that I cut up (pic3), and painted with fabric paint (to get the right colour). I then hand sewed these onto my lace Sleeve in the pattern as near to the original, that I could get (pic4), then I beaded it all (pic5)…I just looked at pics to try and get it as similar as I could…
 |
 |
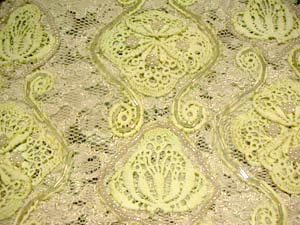 |
| The lace as it started out | The lace medallions cut out and positions | The medallions stitched down and beaded. |
4. When I finally managed to get my velvet from Dapets textiles, I sewed the Upper sleeves onto some velvet, and sewed these onto the under dress
5. I hung this on my dummy, and sort of judged how the neck trim would look
and where it would go. I had to cut some material on the bias so that it
hung properly at the neck. I made a thinner piece for the
over dress neck.
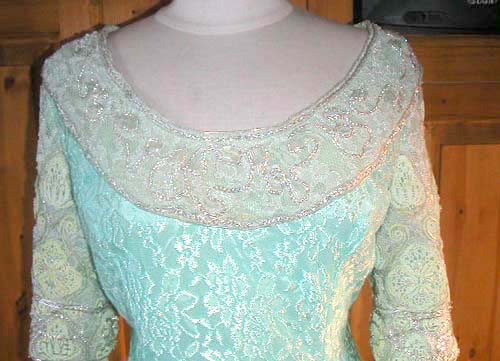
6. I then sewed the remainder of the lace on top of the neck trim I had made, and I then got some metallic thread, plaited it, and sewed it to the neck trims. I then beaded all that too. (pic6)
7. I then sewed the chiffon sleeves in (which wasn’t good because when I
got the over sleeves on top I had to re-cut them (after I had hand rolled
all the edges *sob*) (pic7)
8. I then added the over sleeves which were absolute *pigs*.I cut the Pattern to the drawings from Alleycatscratch…. (with one edge at and upper angle and the other at the lower angle (pic8), to get that inside seam. I had to do one sleeve five times because it just didn’t seem to go on right, and didn’t Seam to hang properly. So I just kept trying the dress on and cutting bits off, and from feeling like I had a couple of curtains over my arms they finally got lighter, so I thought I’d better stop cutting LOL.
9. I then added the under dress neck trim.
10. I then used Simplicity pattern 9103 for the over dress. I sort of cut a muslin first hung it on my dummy, and it sort of looked dress like so that was it. I cut my fabric and sewed it together, just a front and back piece. Then I sewed on the neck trim.
11. Then I hemmed the hems (?)….after guessing how long I should have it. I did the train but laying the material on the floor and cutting a train > shape.
12. To finish off I sewed two panels of my velvet onto the under dress so that it looked the same colour exactly when I raised my arms (because of the Slit sleeve at the armpits). I just guessed these by holding them up to my dummy and sewing it on.
 |
 |
 |
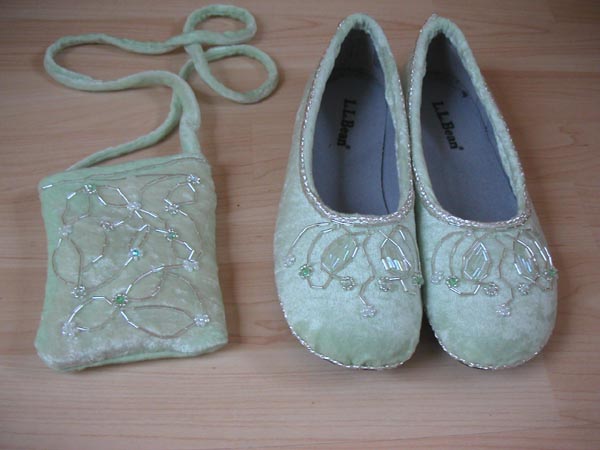 |
| Left over velvet was used to make a purse and cover a set of slippers. Beads are sewn on. I used fabric glue to attach the fabric (and since it doesn't dry straight away, there is room to maneuver the fabric). |
Phew! So if I can do it anyone can….Oh it isn’t lined because that was too hard for me to do, I would probably have it all rucking up, and besides the original isn’t lined either.
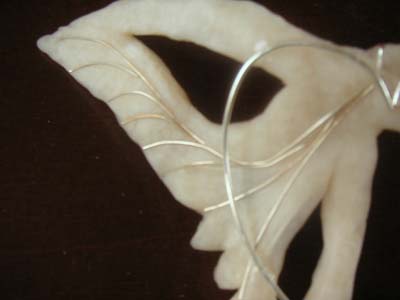
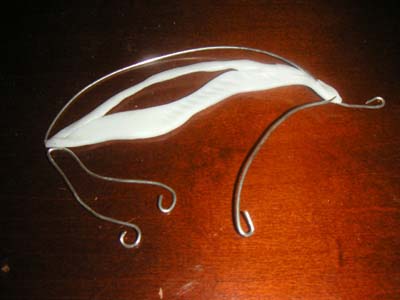
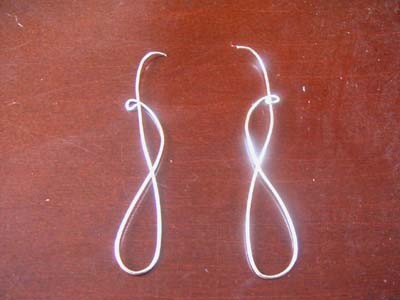
I started off making four pieces of the crown out of Fimo, and I stuck in some wire accents.
 |
 |
 |
 |
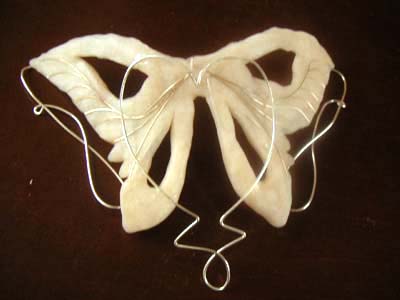
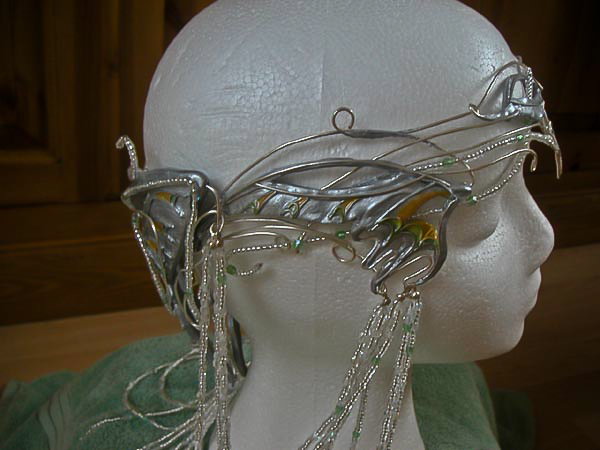
2. It took a day to put the pieces together. I started off by attaching the front to the two side pieces with a little solder, and then I attached the two side pieces to the back butterfly with the wire from them.
3. I then used a thinner gauge wire to thread beads onto, and I stuck the ends with a little superglue to keep them in place.
4. I then threaded the wire in and out of the crown, building up the design. I used two colours of glass beads iridescent, and pale green, but I used about five different types….They were the same ones I used on the drapes too, but I used a few more green ones on the drapes than on the main crown.
5. I then painted my crown with silver acrylic paint (called mythril silver from Games workshop), and then added the gold and green accents. I then varnished over the top to give it a nice shine like enamel.
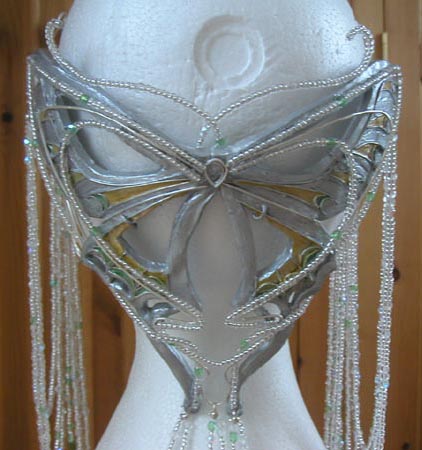
6. Next, I cut some coated beading thread/silk two at a time( so that each side was equal), and then threaded the beads onto it.( I have to add that on my first attempt I used thin nylon/fishing thread, but the drops did NOT hang properly). I beaded the lengths first, then I attached them to my crown with silver attachments
7. I then added my beaded drops to the crown with little silver attachment clips.
8. In all the crown took me about a week to make (working solidly at it), as it was very fiddly to make and time consuming with all those beads.
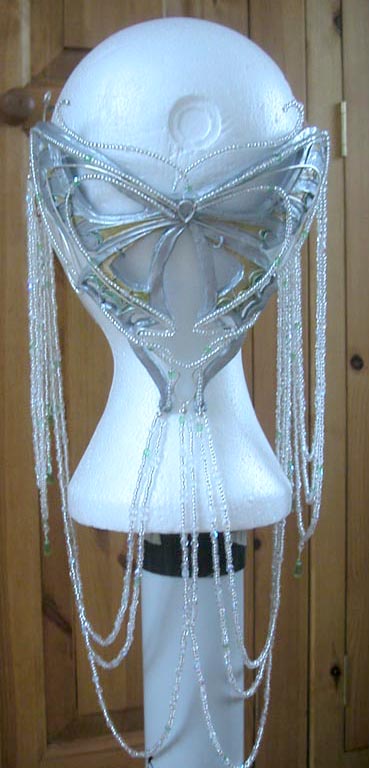
9. Finished Crown
 |
 |
 |
 |
![]()
![]()
This page was last updated 11/21/09