
![]()
![]()
|
|
|
|
|
|
Marijke - Belgium
|
 |
 |
 |
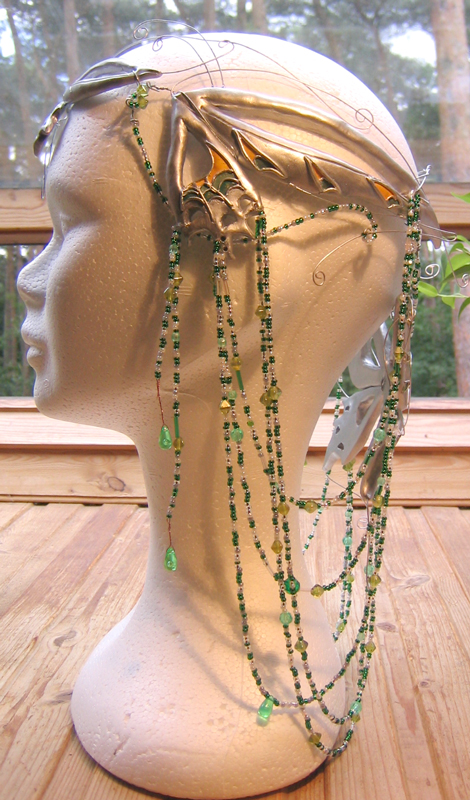
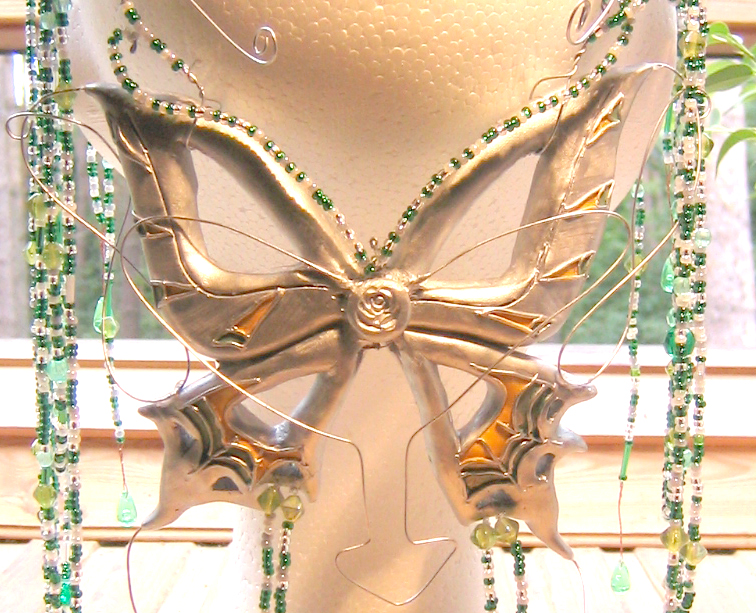
| Note the wire added across the top to hold the crown in place. It can be hidden under the hair. |
Before you start to make everything, you need to think how you are going to put everything together afterwards. I made holes in the clay where I would put the wires though. In that same way I also connected the 2 pieces on the forehead. (You can see that on the pictures).
A difficult part was to bake everything. I couldn’t bake it like it as I'd shaped it from the pattern because every part needed to have a round shape, so it would fit properly around a head. I took a lot of aluminium foil (several layers) and bended it around the forehead off the doll (so it would have the same shape) and laid the 2 front pieces on it. Than I took it of the doll head. But I knew it would collapse after a while, so I made a big ball of aluminium foil to support everything. I did the same for the 2 sidepieces and the piece at the backside and putted everything in the oven. (It’s the best if you wait at the oven while everything bakes, so if a piece of clay falls, you still can fix it immediately.)
 After
the baking process, you can start painting. I used acryl paint: silver for
the crown and green, dark green and yellow for the accents on the wings.
After
the baking process, you can start painting. I used acryl paint: silver for
the crown and green, dark green and yellow for the accents on the wings.
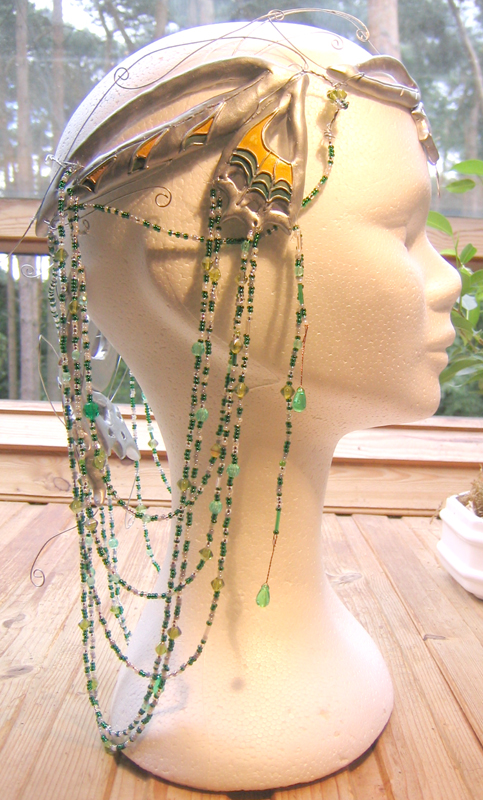
After they paint dries, you can start to put everything together. The most difficult part was to get the wires adjusted so the crown is the right size. On the pictures of the back butterfly you can see I made a wirey thing for more support over the top of the head. If you can make the crown without it,: good! But mine always fell of without it. The clay is heavy. You will need to find you own way to wire it together. I connected the 2 front pieces through a hole made before the backing. (look on the pictures). After that I connected the 2 sidepieces with the now 1 forepiece. You can sort of see it on the pictures... Then you need to connect the butterfly on the back with the 2 sidepieces. Use the manner that you think is the best. I personally found this the hardest part.
All the wire seems to have a difficult pattern, but I did it like this: I printed the pattern and coloured every wire in an other colour. So it becomes much more clearer and less complicated. I made a little curl at each end (of a wire) with the round needle nose pliers. That’s the only way to make it a real, round curl without cutting in your fingers.
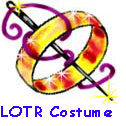
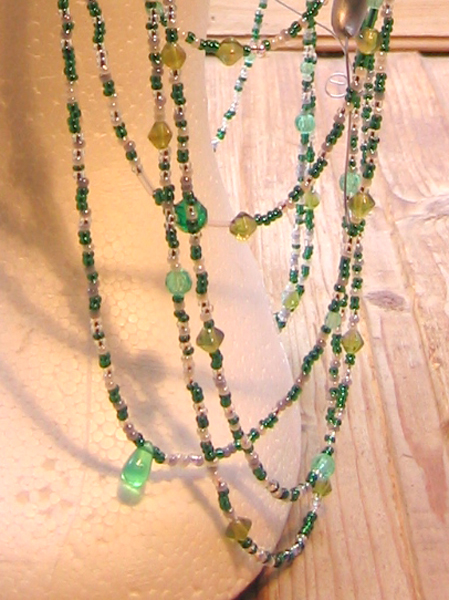
If everything has been putted together and you have shaped all the wire correctly, you can begin with the beads. This takes some time but you will see it gives the crown it’s final touch. I made 2 single threads at the side, 3 that go to the back of each sidepiece and 2 long ones that go to the butterfly at the back. It’s beautiful if you use both little beads tear-shaped ones and other irregular forms of beads.
 |
 |
If that all is done, I give you a congratulations, because your crown is ready! You can wear it for real, but, be careful, fimo clay is quite strong, but it can also easily break. Therefore, be careful.
I really had fun with making this crown, especially because everyone I knew said that I couldn’t do it! I first thought I couldn’t, but if you really want to, you can. You just need to do it step by step. ;)
![]()
![]()
This page was last updated 11/21/09