
![]()
![]()
|
|
|
|
|
|
|
 |
 |
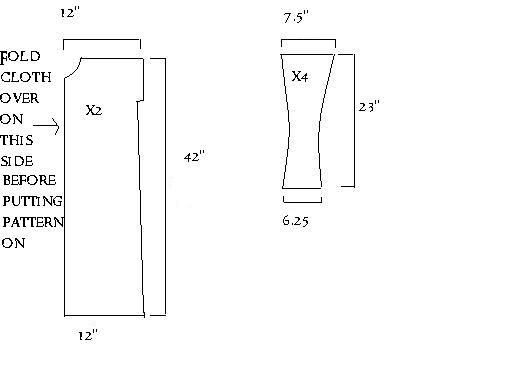
| Pattern for the chest armor | Tar paper "armor" |
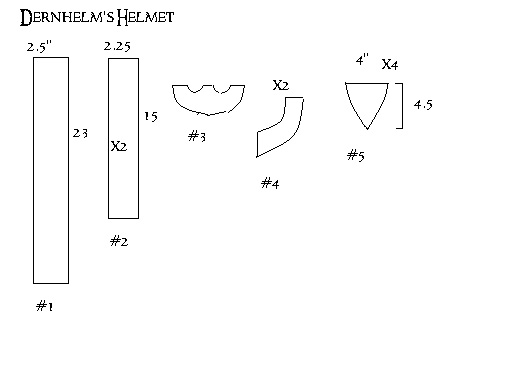
Attached are measurements and a pattern for the helmet. Instructions are for assembling helmet:
| 1. Staple number one together with the small ends. | |
| 2. Staple the number two pieces perpendicular to each other intersecting each other at the centers. | |
| 3. Staple the attached number 2 pieces to number one. | |
| 4. Staple the number five pieces in the gaps on top. | |
| 5. Staple number three to number one. | |
| 6. Staple the two number fours to number one on the sides of number three, with the bigger ends of number four on the bottom. | |
| 7. voila! paint it or whatever you want to do. |
 |
 |
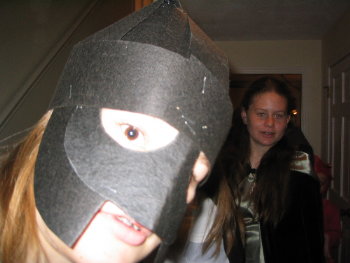 |
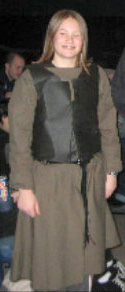
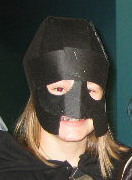
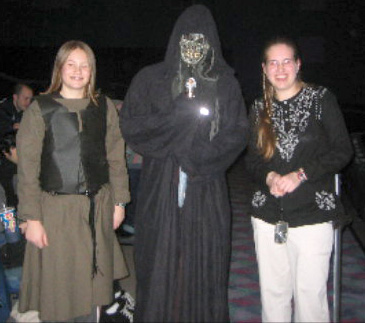
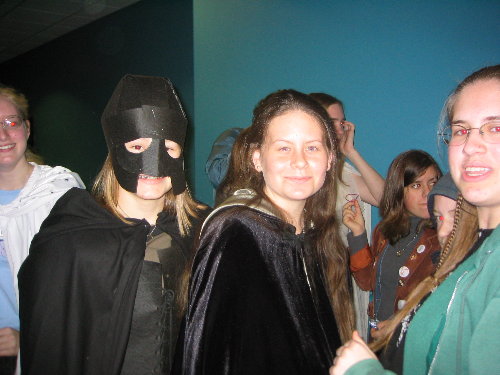
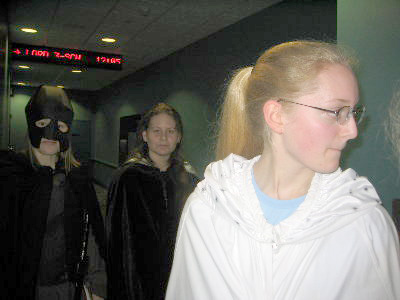
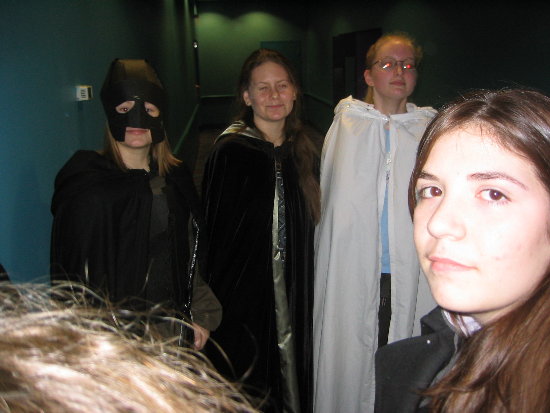
| Helmet pattern | Ready for battle! | Hello! |
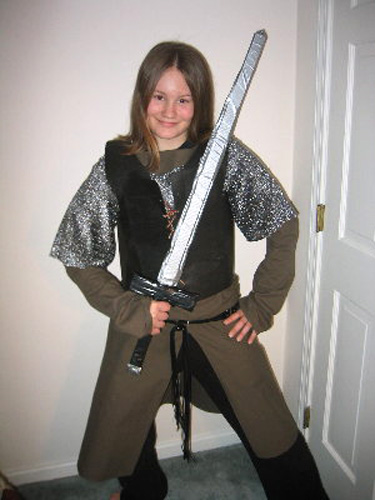
For the maille I used a silver/black fabric, I don't know the name, but it had about the texture of tinsel. I cut out pieces and sewed them to a shirt, and wore it under the armor.
For the green tunic I used some thin, tough green fabric. I attached a description of the pattern.
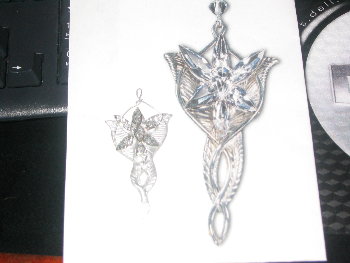
I also made an evenstar pendant. I used sculpey clay and some sparkly "stampendous" scrapbooking stickers from Michaels for the jewels on it, and also some wire, 28 gauge I think.
I printed out an actual size picture of the real evenstar (I also printed out a large picture of it for details). I used this picture and placed the clay directly on it. then I formed the clay so it was the exact size. then I drew the leaf lines in it with a toothpick. then I put six oval shapes in the center to put the stickers on. then I put the wire on it. then I baked it. then I sprayed it with silver spray paint. then I placed the stickers on it, and voila!
 |
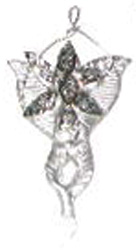 |
| Final, next to the big picture that was blown up to see the detail | Evenstar: Sculpy, wire and sticker stones |
 |
 |
 |
 |
 |
|
You can also check out her website at: http://stella_iter.tripod.com/rings.html
![]()
![]()
This page was last updated 11/21/09