
![]()
![]()
|
|
|
|
|
|
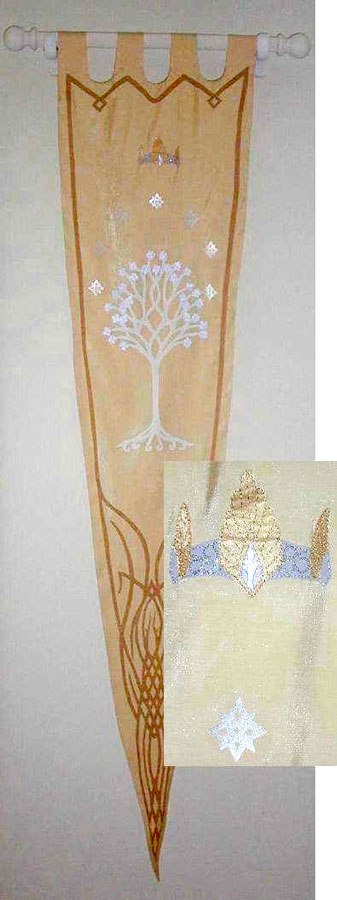
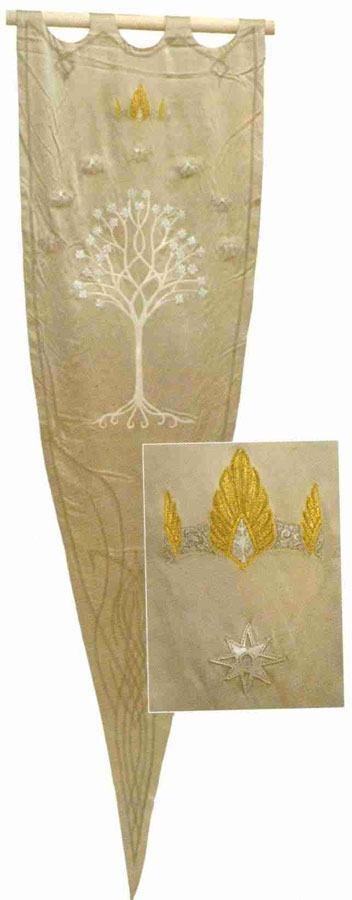
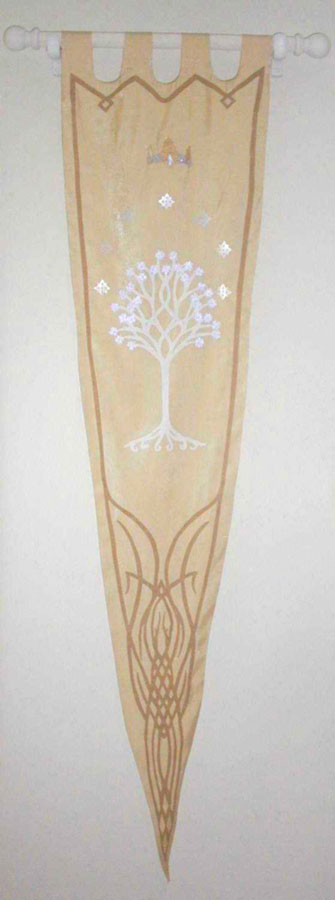
Leah - Kentucky, USAArwen's Coronation Banner
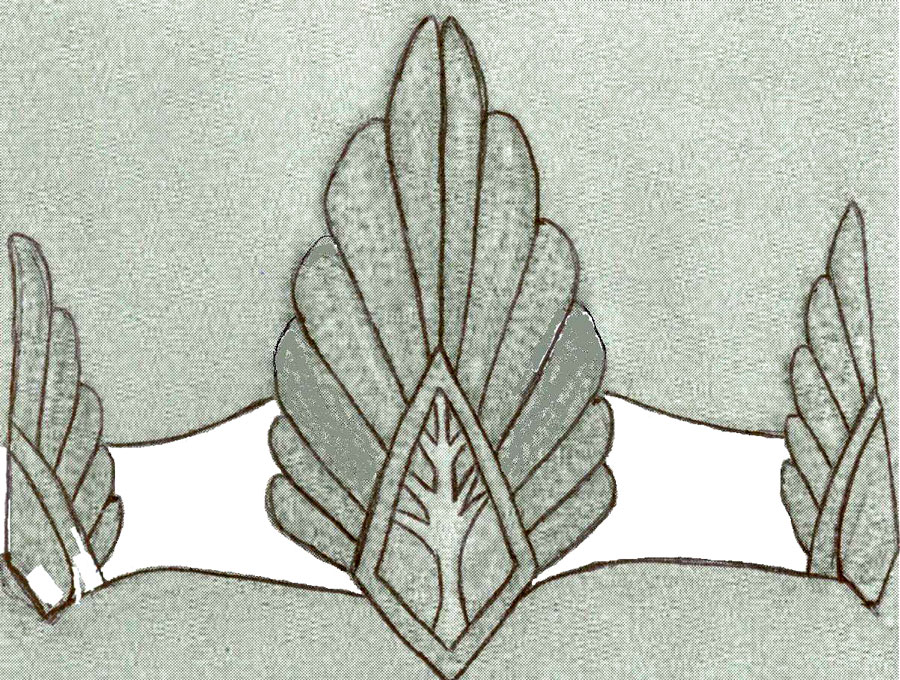
With help from my Mom I have recreated Arwen's Coronation Banner. My inspiration came from this picture: taken from the Weapons and Warfare book. Here are more pictures
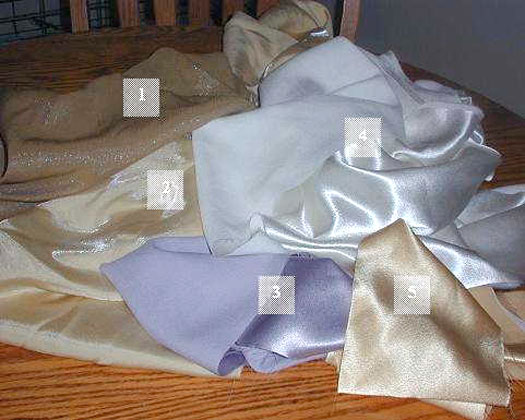
Materials |
| Iridescent bronzy blend (for line designs) | |
| Soft yellow iridescent blend (banner fabric) | |
| Silver satin (for crown) | |
| White satiny shantungy fabric (for tree and stars) | |
| Gold satin (for crown) | |
| Wonder Under |
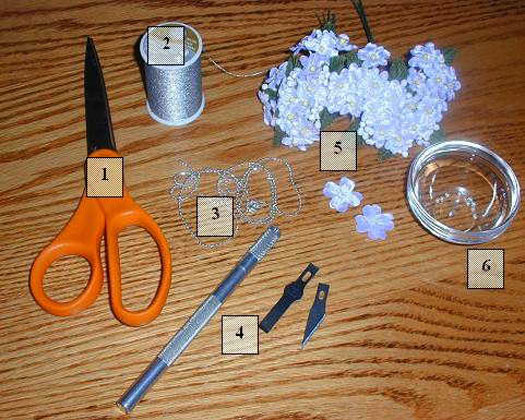
| Scissors | |
| Silver metallic sewing thread (also [not pictured] Gold metallic sewing thread) | |
| Silver beading (found in necklace/bracelet craft section, can be cut without making the beads come apart) | |
| X-Acto knife | |
| Floral picks (Flowers are 4 petals stacked on 4 petals) | |
| Seed pearls |
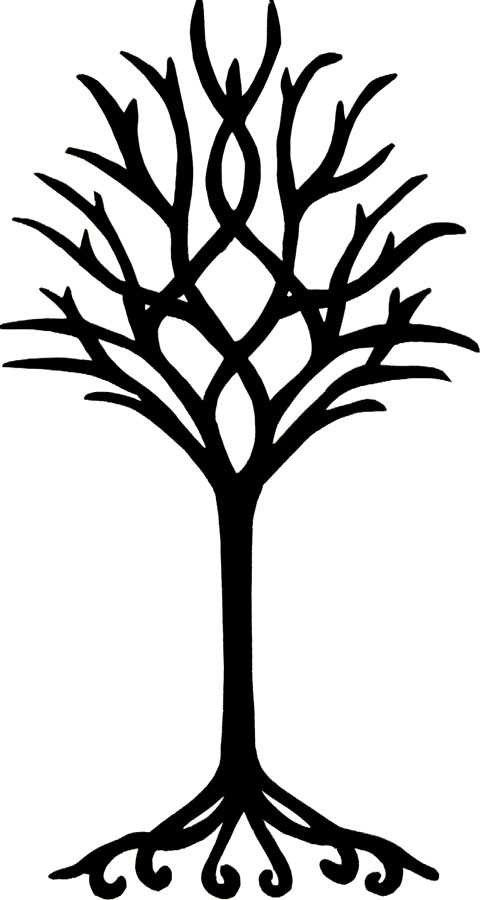
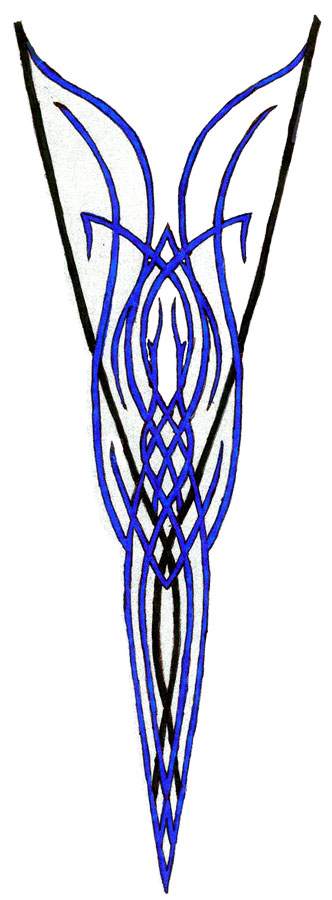
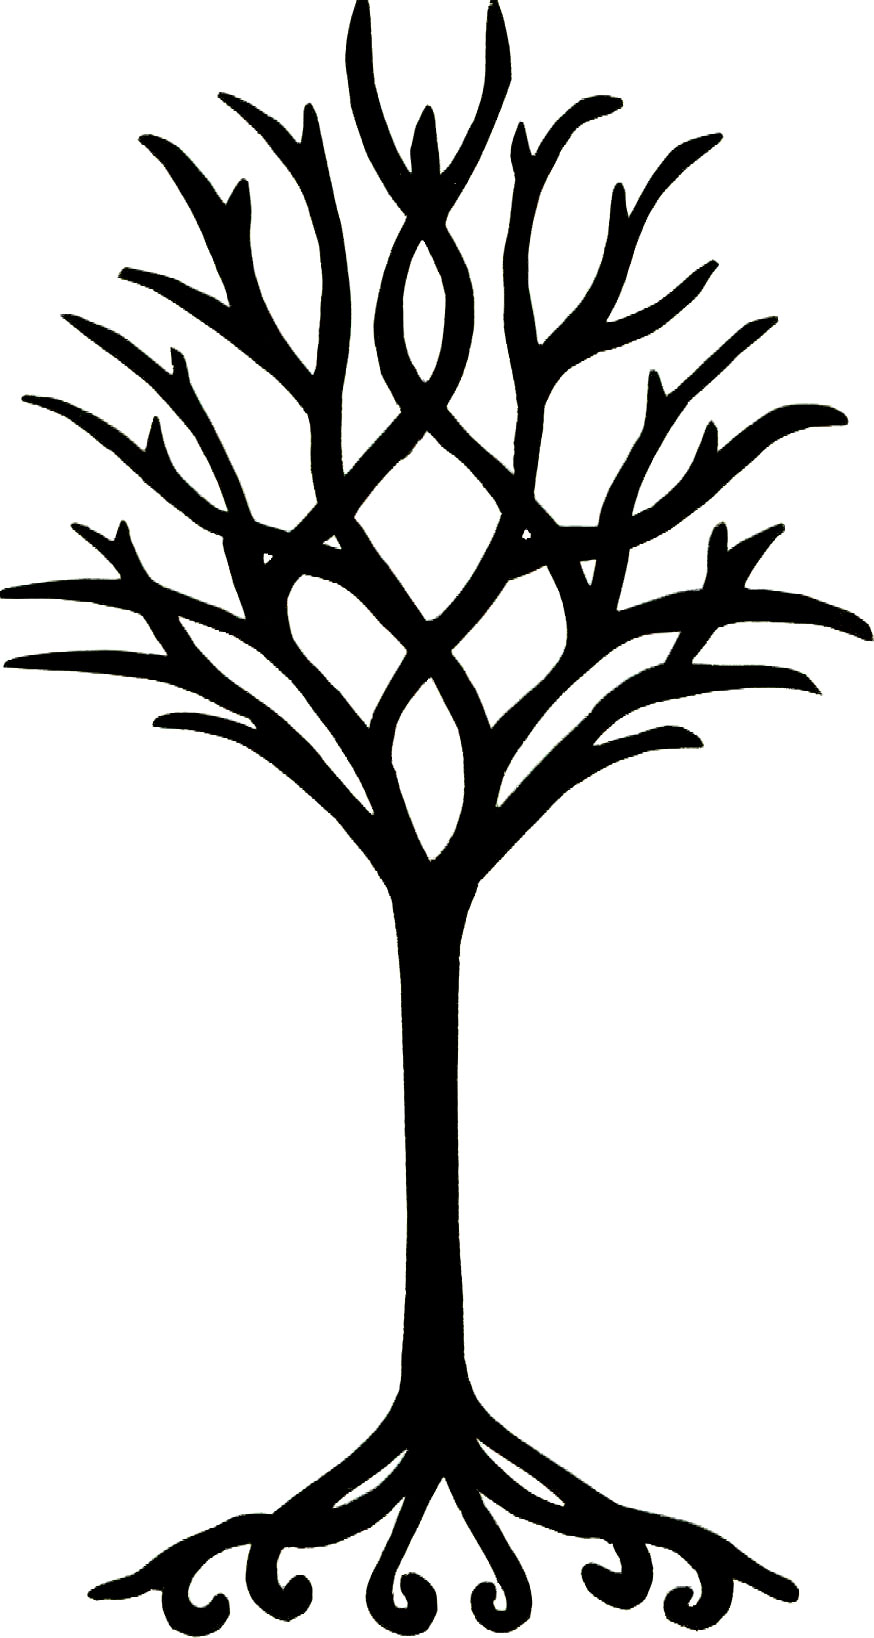
I scanned in the picture from the Weapons and Warfare book on a high resolution so I could blow it up. I made tracings/copies of the designs:
 |
 |
| Tree (or high rez here) |
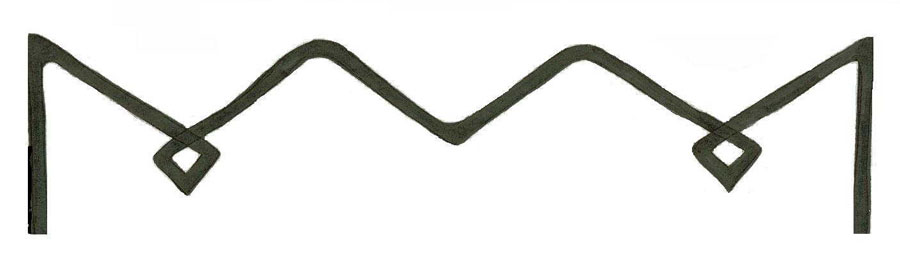
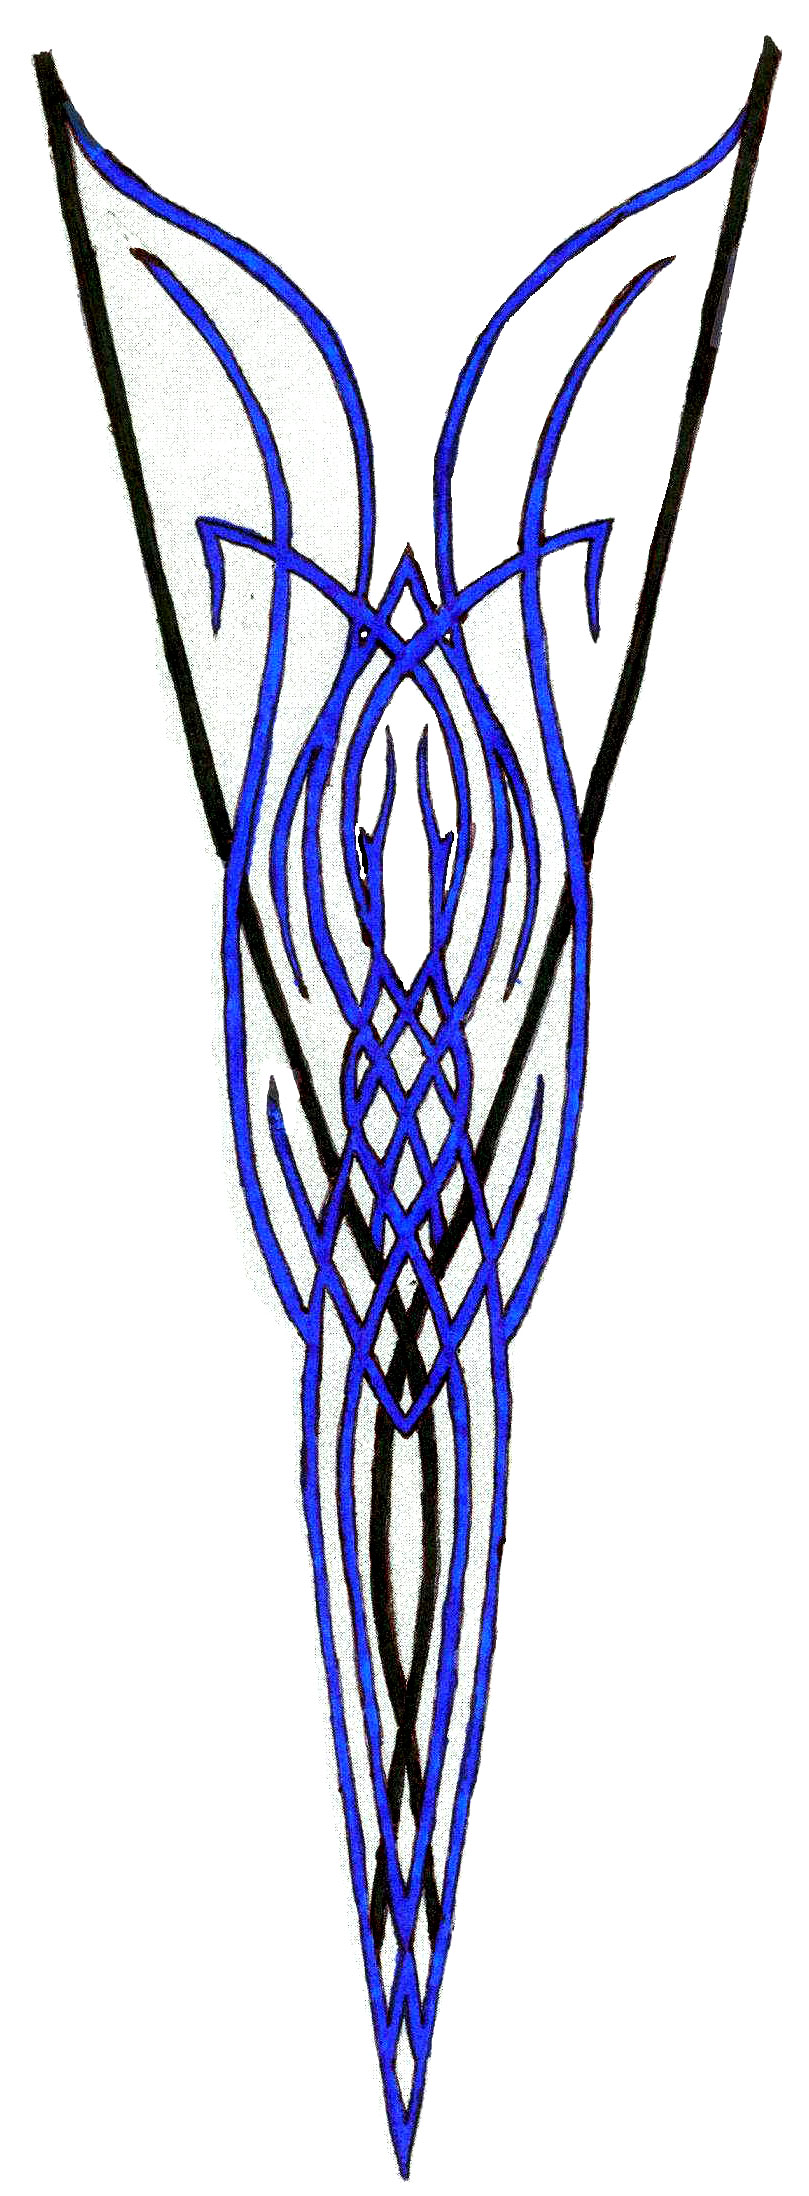
Banner top (or high rez here) |
 |
 |
| Banner bottom (or high rez here) |
Crown |
 |
|
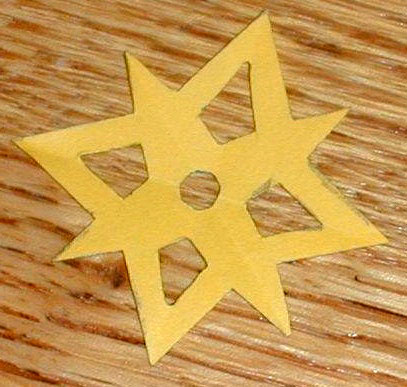
| Star pattern |
Decide how big you want your banner and baste the outline of the banner onto the soft yellow shimmery fabric.
 Next
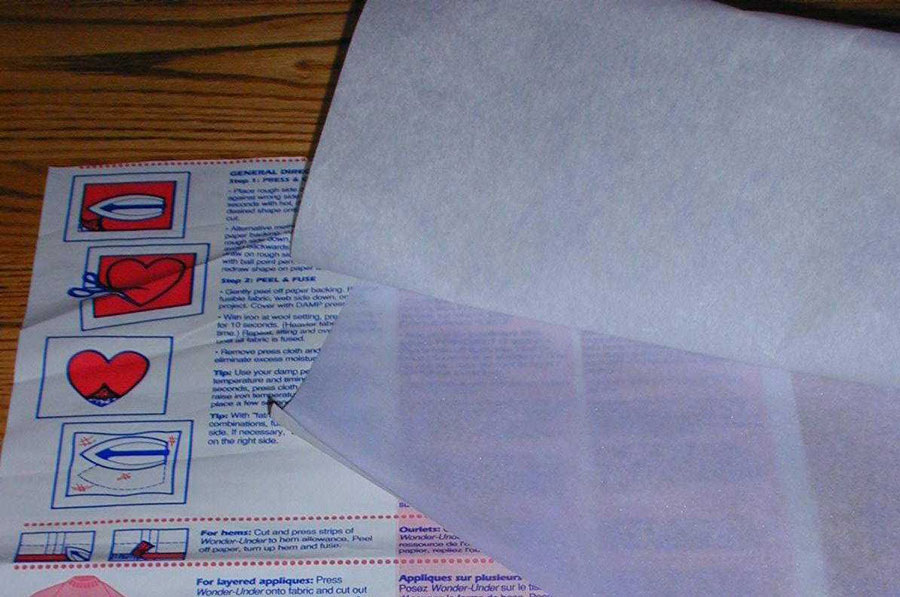
I used Wonder Under (It is a papery substance that you can draw on and then
iron on your fabric and cut out. Later you peel off the backing and fuse it
to the other material). If you can't sew, it's great stuff! I drew all the
designs onto the smooth side of the Wonder Under. Then I ironed it onto the
opposite side of what I wanted showing. It is very important that you
reverse the picture (if you use my pics, they are ready to go and you don't
have to worry about it.) For example, using the white shiny fabric I wanted
the stars to be shiny and the tree to be flat, so for the stars I adhered
the Wonder Under to the dull side and for the tree I adhered the Wonder
Under to the shiny side.) I cut everything out (except the crown) by using
the scissors and the X-Acto knife for those really delicate tiny cuts.
Next
I used Wonder Under (It is a papery substance that you can draw on and then
iron on your fabric and cut out. Later you peel off the backing and fuse it
to the other material). If you can't sew, it's great stuff! I drew all the
designs onto the smooth side of the Wonder Under. Then I ironed it onto the
opposite side of what I wanted showing. It is very important that you
reverse the picture (if you use my pics, they are ready to go and you don't
have to worry about it.) For example, using the white shiny fabric I wanted
the stars to be shiny and the tree to be flat, so for the stars I adhered
the Wonder Under to the dull side and for the tree I adhered the Wonder
Under to the shiny side.) I cut everything out (except the crown) by using
the scissors and the X-Acto knife for those really delicate tiny cuts.
 Next
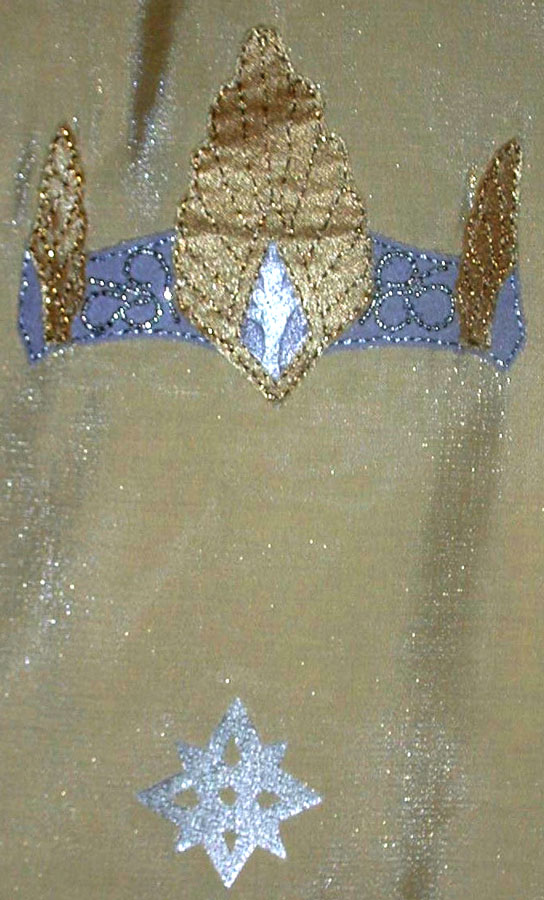
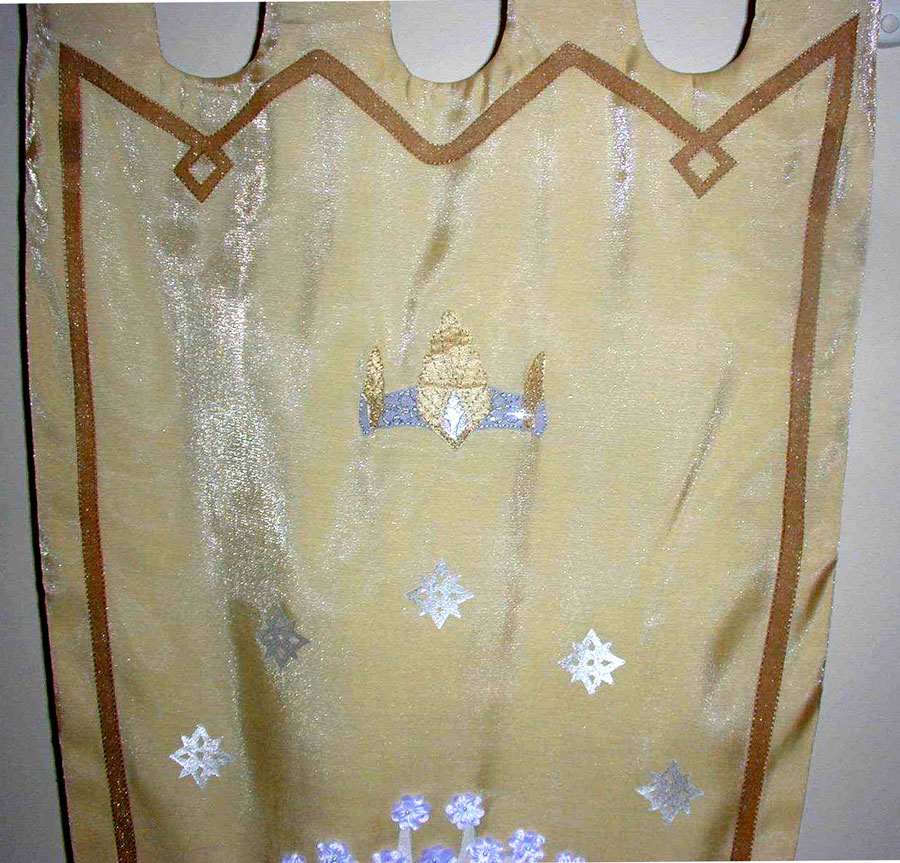
I concentrated on the crown. I used the shiny gold side of the satin for the
wings and the dull side of the silver for the crown part. If you use the
crown drawing you should make 2 copies of it and cut out the silver part as
one piece and all the wings separately. I used the metallic thread to hand
stitch along the lines of each drawing and then carefully cut along the
stitching. I assembled the crown and tacked it together. Then we added the
silver beading in a design and tacked it onto the silver part.
Next
I concentrated on the crown. I used the shiny gold side of the satin for the
wings and the dull side of the silver for the crown part. If you use the
crown drawing you should make 2 copies of it and cut out the silver part as
one piece and all the wings separately. I used the metallic thread to hand
stitch along the lines of each drawing and then carefully cut along the
stitching. I assembled the crown and tacked it together. Then we added the
silver beading in a design and tacked it onto the silver part.
We then fused the bottom and top line designs, the tree, and stars to the banner by following the instructions for the Wonder Under. (You have to peel the paper away and then position everything exactly where you want it).
Wonder Under is not very forgiving if after you've fused it you realized you messed up. Then you use a damp pressing cloth over the pieces you want fused. This will adhere the fabrics to each other.
For the side lines I just laid the wonder under on top of the banner and traced the lines joining the top to the bottom, ironed it onto the bronzy fabric, cut it out and fused it on.
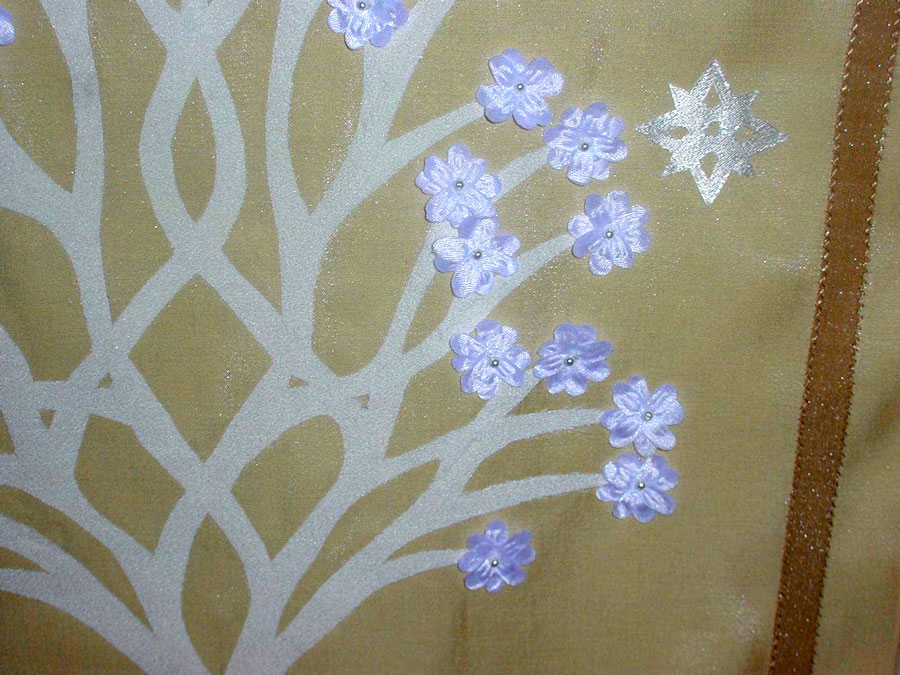 For
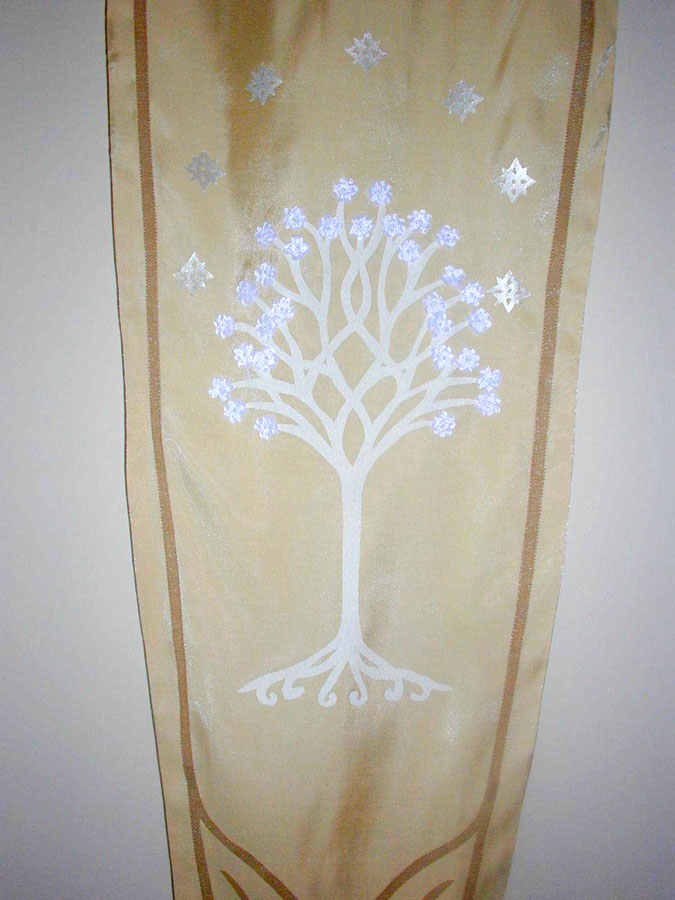
the flowers, I found some silk flowers that were very close. The
blooms were taken off of the picks and the yellow centers were removed. The
silk petals were ironed flat and tacked onto the tree limbs with white
thread and a seed pearl. There are 31 of these. (Side note on the seed
pearls: they came from my mother's wedding tiara! :) )
For
the flowers, I found some silk flowers that were very close. The
blooms were taken off of the picks and the yellow centers were removed. The
silk petals were ironed flat and tacked onto the tree limbs with white
thread and a seed pearl. There are 31 of these. (Side note on the seed
pearls: they came from my mother's wedding tiara! :) )
Now we were ready to fuse the last piece to the banner - the crown.
Using a needle, do your best to remove as much Wonder Under from the crown as you can. (It's a little harder since it is stitched to the fabric with the metallic thread, but little by little using a needle it can be done.)
That's pretty much it! The last step is actually cutting the banner shape itself along the basting and sewing it all together. I used a front and back to mine to give it a little more body and it just looks nicer! My mom did this so I can't be of much help on that. I know she sewed it all inside out so when you turned it back out there would be no visible seam. Also on my banner she zig zagged along the line design on the outside but that isn't really necessary if you use the Wonder Under.
![]()
![]()
This page was last updated 11/21/09