
![]()
![]()
|
|
|
|
|
v ----- Advertisement -----v
^ -----Advertisement ----- ^
|
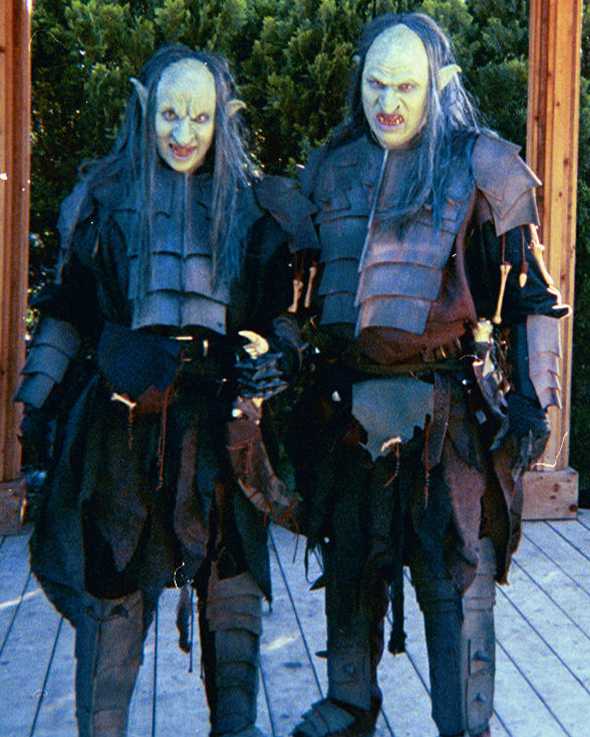
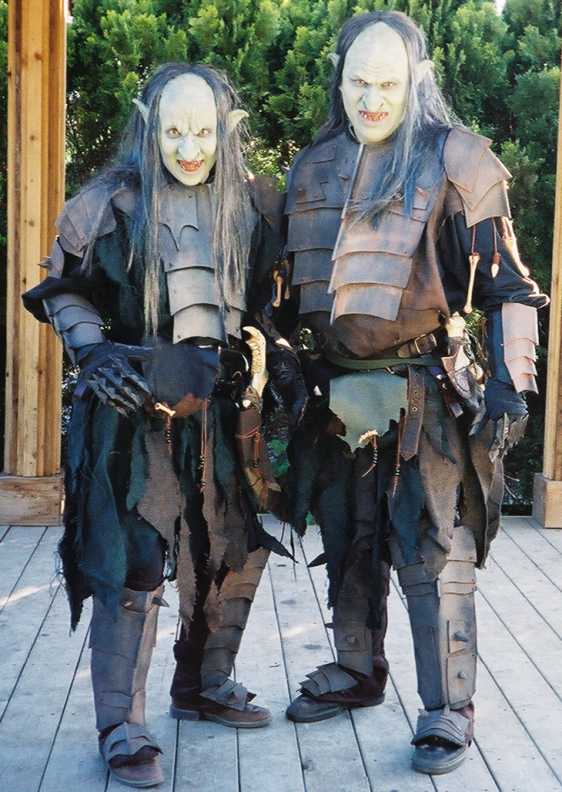
Jill and Michael D. - Texas, USAThe Goblins "Gawk and Leer"
|
 |
 |
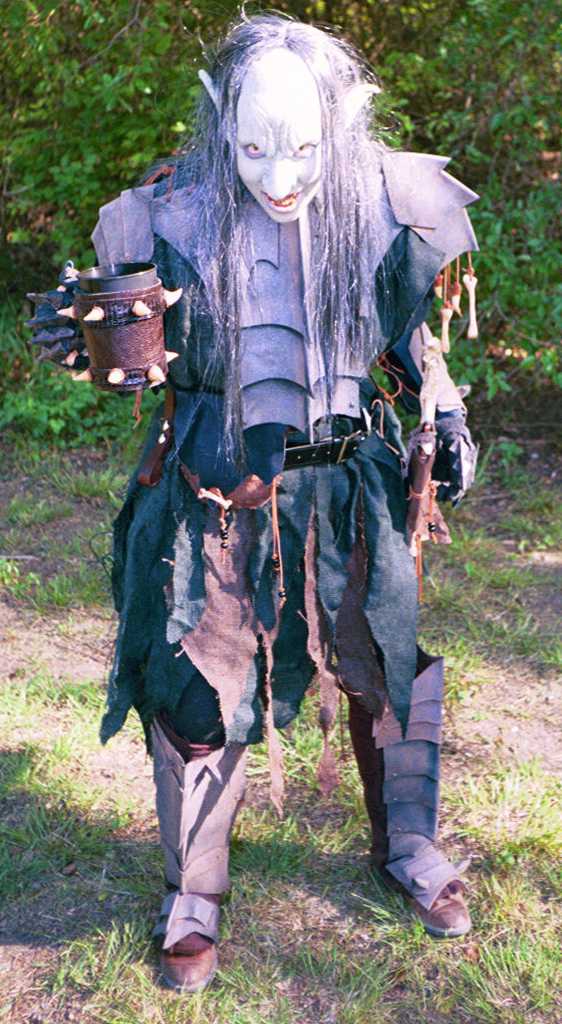 |
| Creapin' up! | Attack! | Here, drink this! |
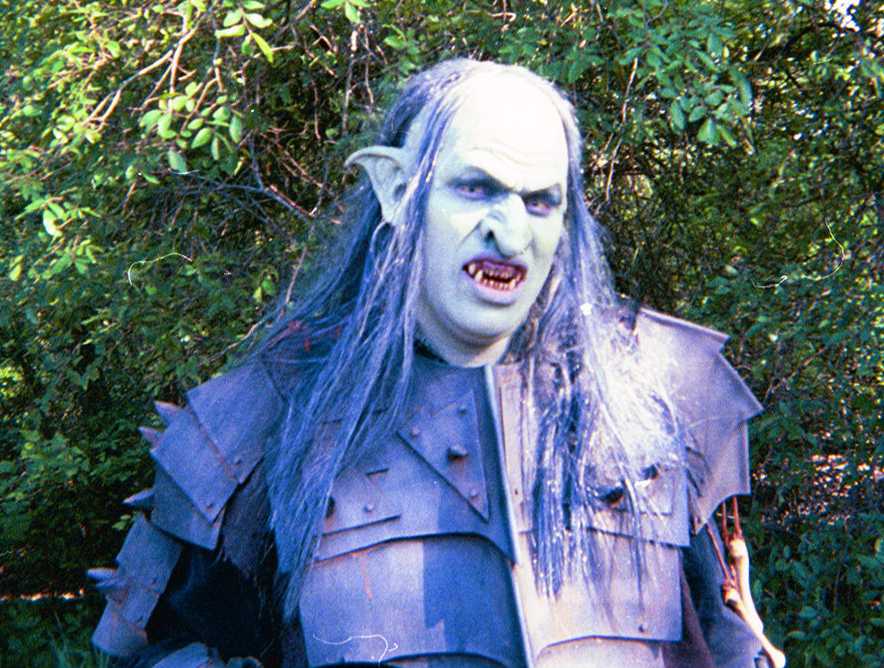
Our makeup consisted of foam latex ears,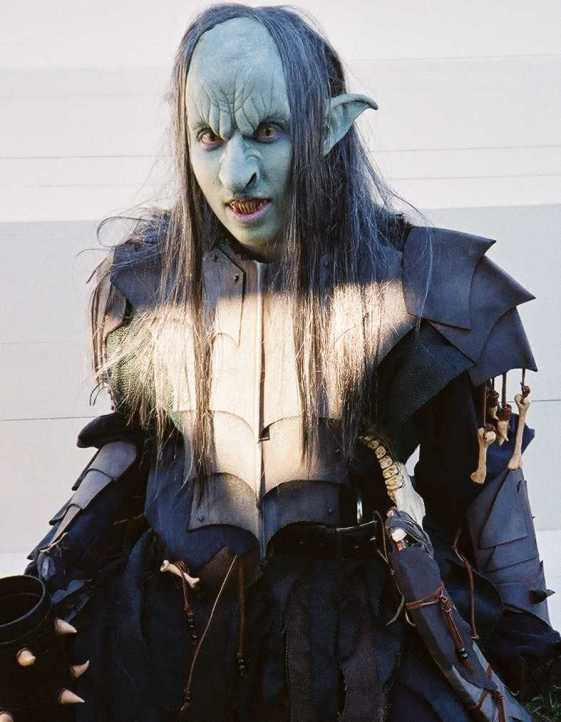 foreheads and noses. We are both wearing regular latex bald caps under all
that, in order to bring the hairline WAY back, with the wigs glued down
last. We used Prosaide to glue everything down, and PAX paint as a sealer
before applying the makeup.
foreheads and noses. We are both wearing regular latex bald caps under all
that, in order to bring the hairline WAY back, with the wigs glued down
last. We used Prosaide to glue everything down, and PAX paint as a sealer
before applying the makeup.
What you can't tell from the pictures, is that we were green. Well, sort
of a greyish green, and
 with
a lot of subtle colors worked in with a stipple sponge, like yellowish
highlights, and purple and blue around the eyes, to bring out the yellow
contact lenses. After the makeup is finished, it is all powdered and set
with a light misting of water from a spray bottle, then dabbed dry with
paper towels. Finally, a thin coating of KY-Jelly to give us a slightly
sweaty look. None of which you can see in the pictures! Maybe we should hire
a real photographer next time!
with
a lot of subtle colors worked in with a stipple sponge, like yellowish
highlights, and purple and blue around the eyes, to bring out the yellow
contact lenses. After the makeup is finished, it is all powdered and set
with a light misting of water from a spray bottle, then dabbed dry with
paper towels. Finally, a thin coating of KY-Jelly to give us a slightly
sweaty look. None of which you can see in the pictures! Maybe we should hire
a real photographer next time!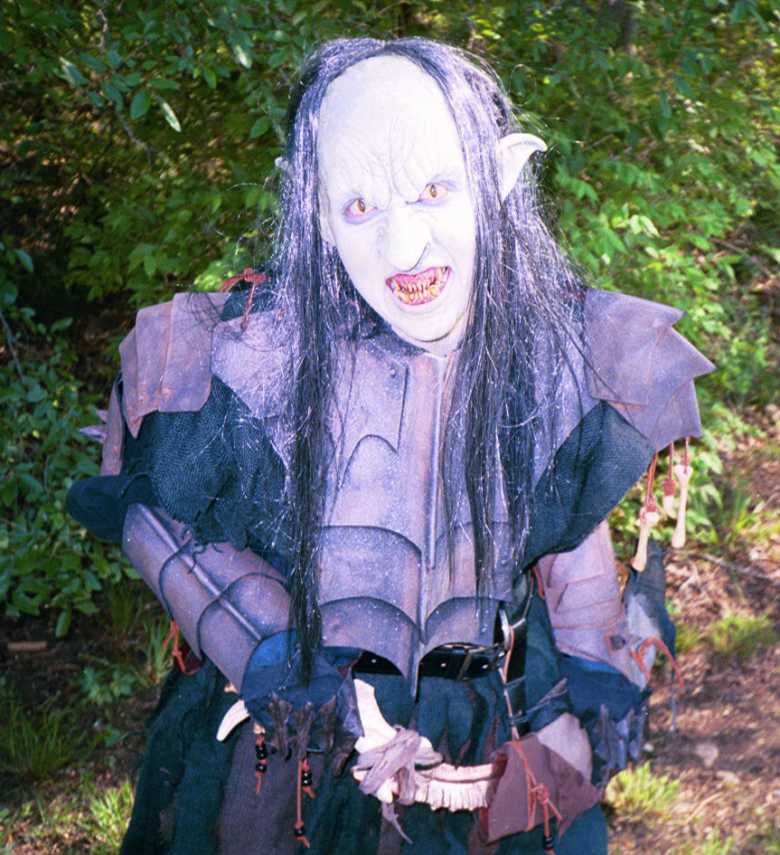
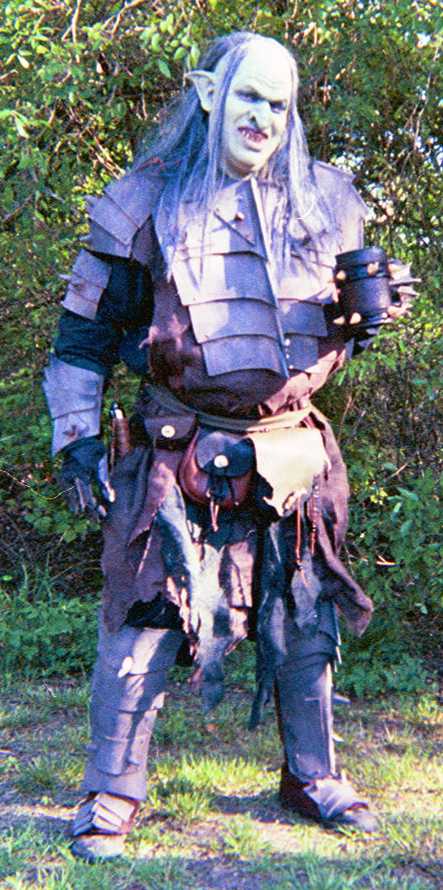
The foam prosthetics were all ready-made, from "Nu-Products," which have sadly gone out of business recently.
We both wore "Wild Eyes" yellow cat-eye contact lenses, which I thought looked appropriately reptile-like against that greenish-grey makeup. Our teeth are custom made full dentures. We had intended to stain the inside of our mouths with black food coloring, or black gel frosting, to get that really nasty Orcish look seen on some of the Orcs in the movies, but we forgot to bring it with us! Oh well, next time...
 |
 |
 |
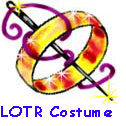
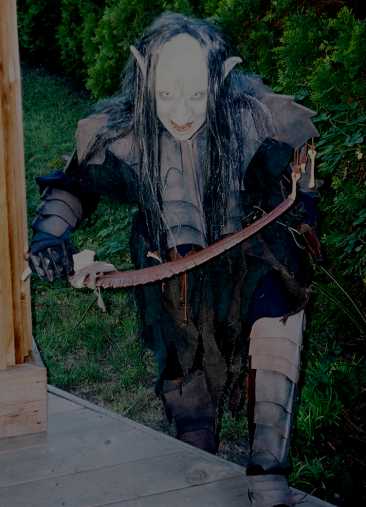
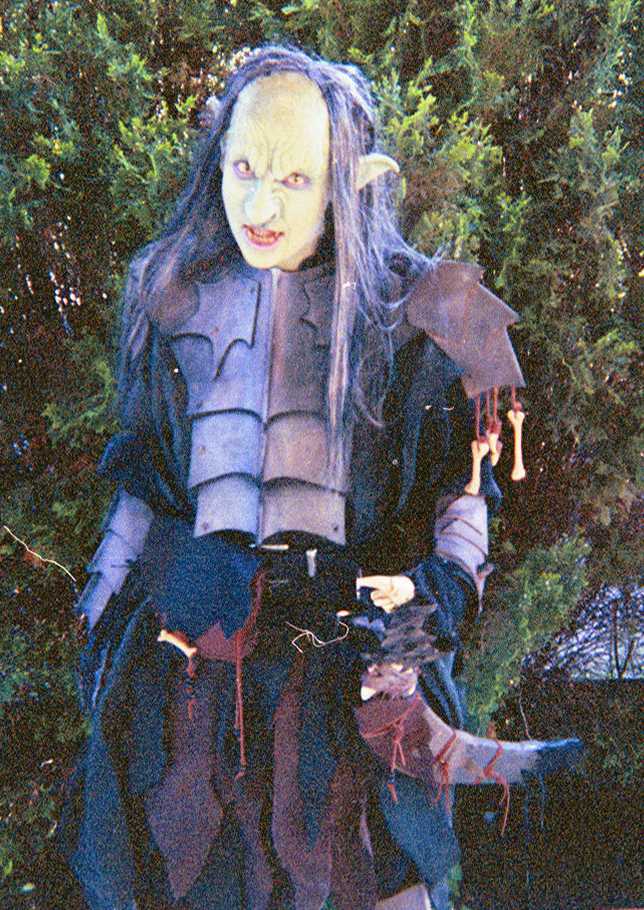
| Guess who's coming to dinner? | Don't mess with her! | What's that smell? |
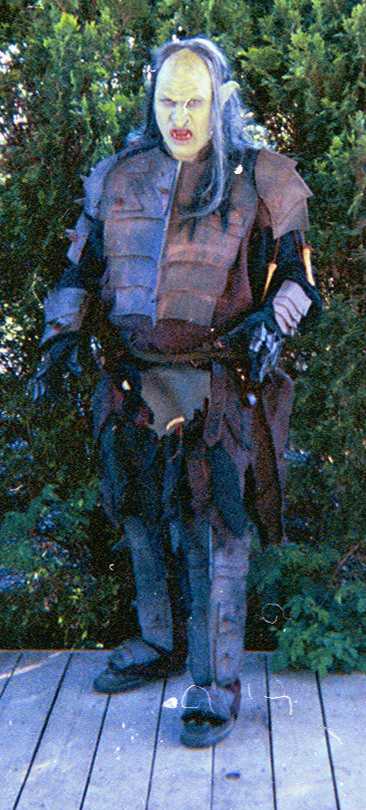
 from Polyfoam
The armor was an experiment that turned out better than expected. It was very cheap to make and easy to work with. It is all done with black sheet polyfoam purchased from Hobby Lobby. I've seen this stuff in other sizes at just about every craft store. It comes in all different colors, and usually in 2 or more thicknesses, we used the thicker version. That stuff is only 99 cents for a big sheet of it! I think the sheets are about 12"x18" or so. We used about 20-30 sheets for all of the armor. We cut out the shapes with scissors, and just hot-glued them together. ( We think high temperature, NOT multi-temp, hot glue is best, even though you have to be VERY careful, since it can be around 400 degrees F. )
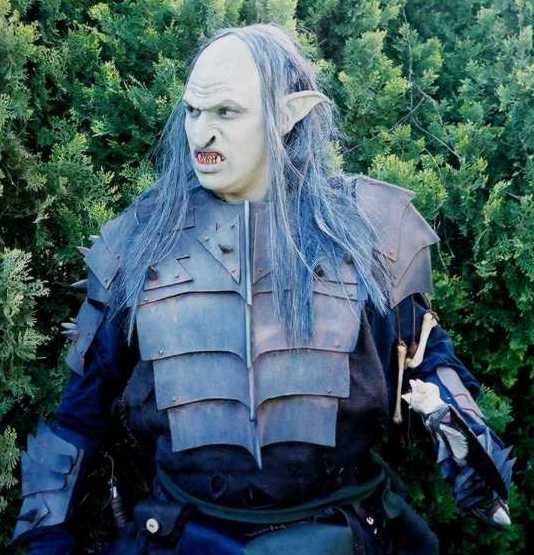
 The
ridges in the armor pieces were made by running a very thin line of hot glue
down the middle of the piece, and immediately folding it over, and pressing
it down with a book or something. When the glue cools, it will keep that
ridge.
The
ridges in the armor pieces were made by running a very thin line of hot glue
down the middle of the piece, and immediately folding it over, and pressing
it down with a book or something. When the glue cools, it will keep that
ridge.
You can make curved shapes by "laminating" (hotgluing) 2 sheets together using a LOT of glue, (be careful!!) then stretching it over something curved, like a bucket or big salad bowl, holding it for a few minutes until it cools.
The spikes are just multiple layers of the same sheet foam, hotglued
together, and shaped with big shears.
The "rivets" are all just for show, made with a hole-punch, and superglued on. Then we spray-painted it all with metallic smoky, dark grey auto body touch up paint. (from auto parts store) When dry, we aged them using some fake rust made from acrylic paint, baby powder, and water. Presto! Instant armor. (Just don't take it into battle.)
 The
armor pieces are then hot glued onto raggedy burlap "ponchos", that are then
belted. We used black and brown burlap, and washed them together ahead of
time in hot water (in a net laundry bag, to avoid ruining our washer!) The
colors faded and ran together nicely.
The
armor pieces are then hot glued onto raggedy burlap "ponchos", that are then
belted. We used black and brown burlap, and washed them together ahead of
time in hot water (in a net laundry bag, to avoid ruining our washer!) The
colors faded and ran together nicely.
The gloves are just cheap brown cotton garden gloves, decorated with black fabric paint and thin, stiff leather, and painted. We added a variety of scrap leather, beads and "bones" made out of Premo clay and wire.
Our weapons are plastic toy weapons from a Halloween shop, but we repainted them, and Jill made our scabbards out of leather scraps glued over sheet foam.
The armor was very lightweight, lots of fun to make and wear, and didn't break the bank. Combined with the prosthetic makeup, teeth, and contact lenses, I like to think we created a pretty good overall look.
![]()
![]()
This page was last updated 11/21/09