
![]()
![]()
|
|
|
|
|
|
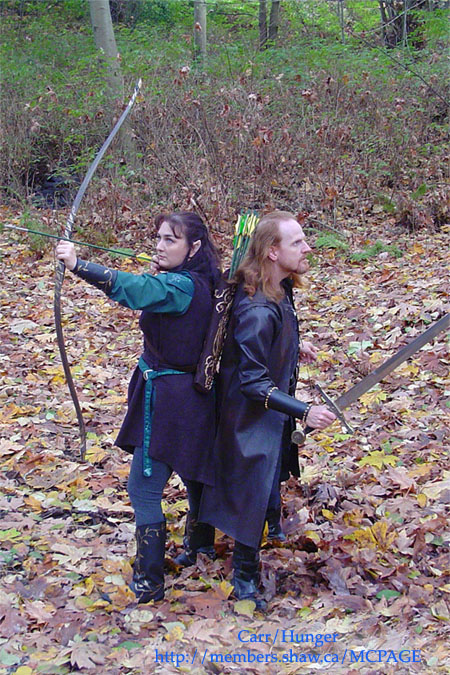
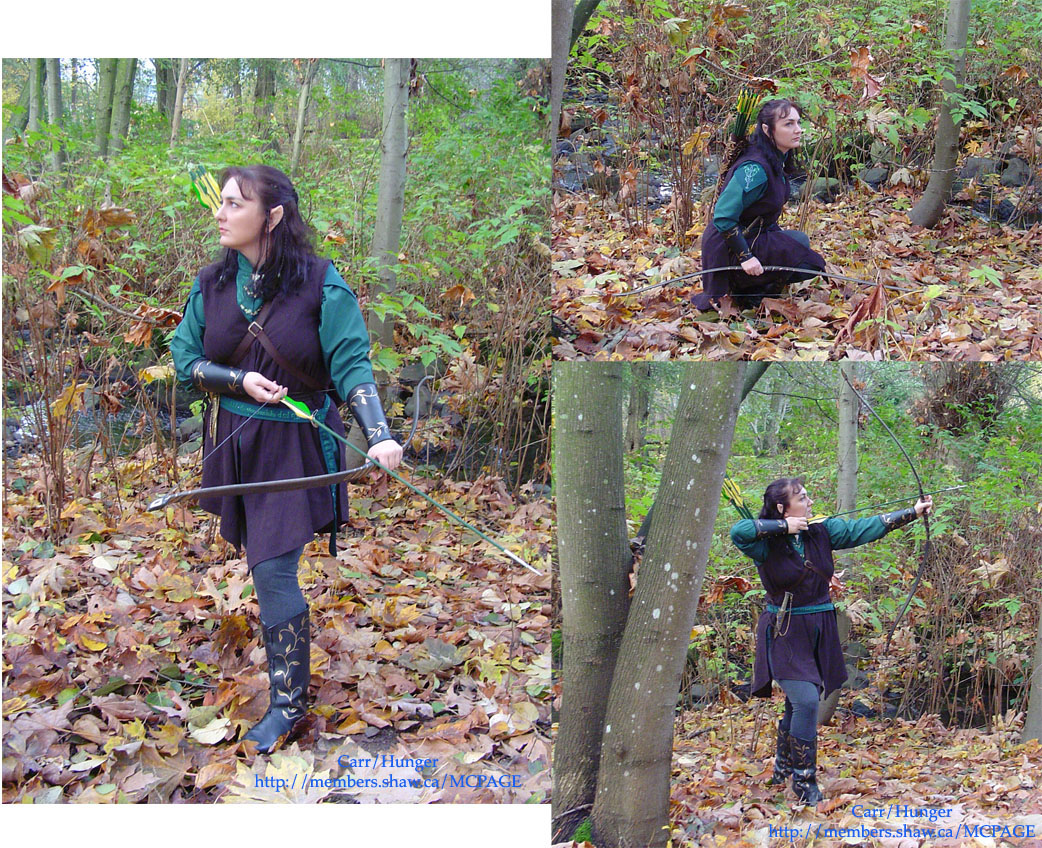
Christina & MartinElf & Ranger
I have done some archery and hope to get back into it once more. I need to find a new teacher locally and brush up but the skills should still be there. The quiver is my quiver for archery but the arrows and bow were whipped up to not only suit the costume but to be 'safe'. We actually didn't expect them to be able to fire but they did. Whoops. They didn't fire straight and the resin arrow tips shattered on most surfaces, mind you, but they stayed safely tucked away when others where around. We used a lot of fabric paint for detailing. The clasps in the front (hard to see in these pics but are there) was 6 necklaces that we broke apart and sewed to the top with invisible thread. We sewed hook and eyes under them (to the fabric) in order to have them seem to be clasps. The vambraces and boots have the vine pattern up them. We masked them out with masking tape and gently cut out the patterns with exacto knives. Gently lifting the tape off and them painting them lightly with
automotive paints gives a lovely effect. Automotive paints (Ideally shoe
sprays like magix) are less likely to come off as vinyl's give off a 'oil'
that can eat paints and dies. Automotive paints and shoe sprays are designed
to bite into this kind of materials. Never store painted vinyl touching
other vinyl's or fabrics. There is a 50/50 chance that it will destroy all
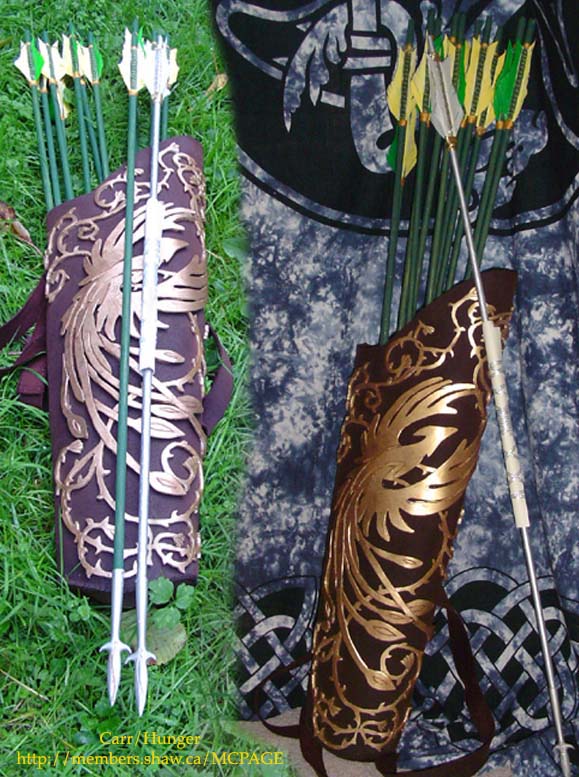
around it. We masked and painted the bow in the same manner. Quiver details
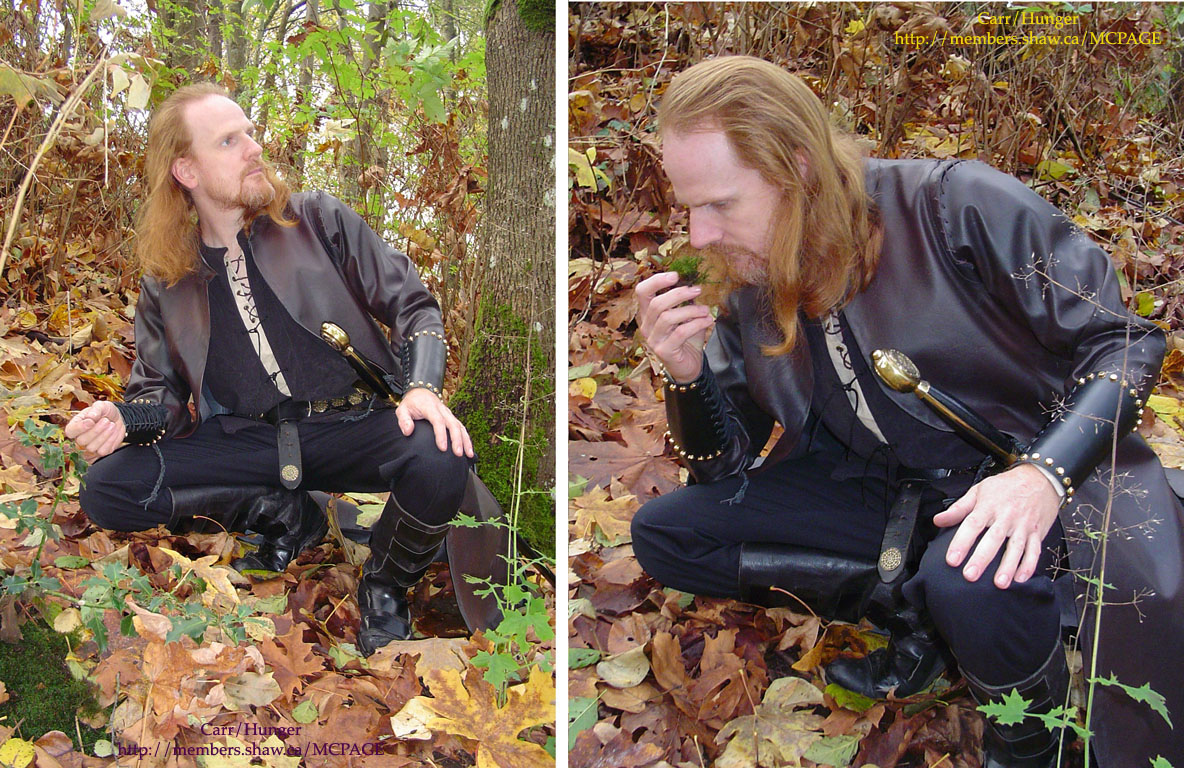
below. Like myself we wanted to base our costumes on the movies not replicate them so he whipped up a 'Ranger's' outfit for this year. Many parts of his outfit is pieces from his renfest outfit and his wedding renewal outfit ( http://carrhunger.0catch.com/Renew/renew.html ) but we still added for the right effect. His 'leather coat' was the biggie. Black Vinyl is cheaper so we bought that and a can of dark brown show spray (Magix). We sewed the outfit and then sanded it down. Using different grits of sandpaper we wore out some areas more than others. We then sprayed it lightly (then progressively darker) with the dark brown. Once that was dry we sandpapered some areas a little more. The idea is to give it a rough look and to make it look more like a leather and not a cheap glossy vinyl.
I assume by now arrows are a thing of habit for most of you. Fletching and, of course, the shaft looks like you have well at hand. The tip is the clincher for us. We carved a master from styrene and then made a mould from it. We used a soft moulding compound so the casted hard arrow heads could come out of the mould. We then got a two part resin kit and proceeded to stick each shaft into the mould and pour the two part resin in the mould. We made sure to tap the mould to release air bubbles and then let it sit to dry. Once that was done we popped them out, masked the rest of the arrow, sprayed them with automotive paints and voila. The one silver one in the shot was a 'messenger arrow' we made for a friend. Note: Feathers do not paint very well unless they are actual fletching then they will be pre died. We discovered, much to our frustration, that we could not make the silver fletching on a silver arrow with the same paint. This is why the fletching wound up being glued on last and is white. webpages: http://CarrHunger.0catch.com and http://members.shaw.ca/infinityis
This page was last updated 11/21/09
|