Design Techniques

08/09/09

Home
Living Room
Dining Room
Kitchen & Laundry
3 Bedrooms
Back Yard
Garage
Bathroom
Design Techniques


Design Techniques used

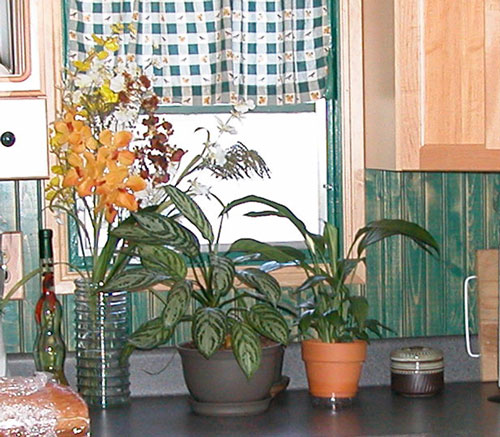
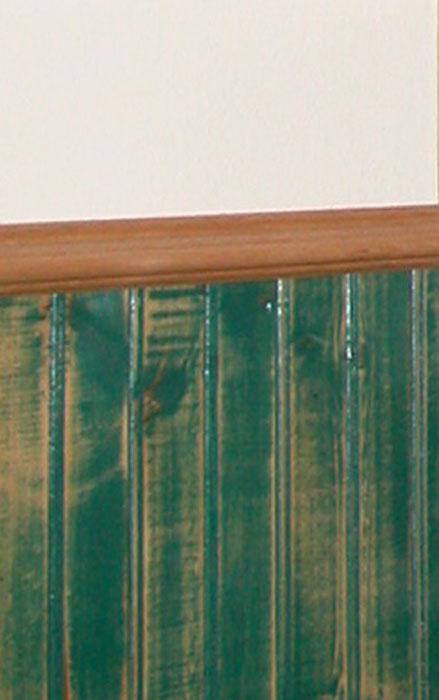
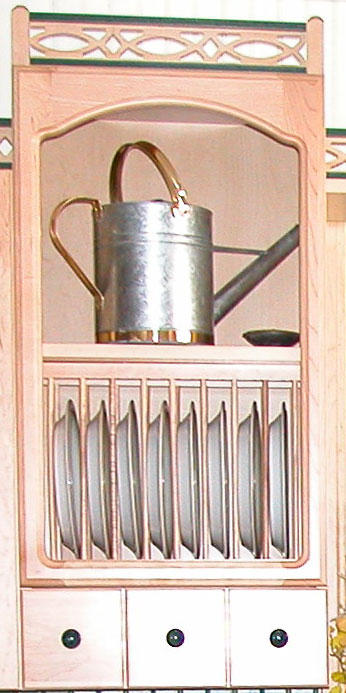
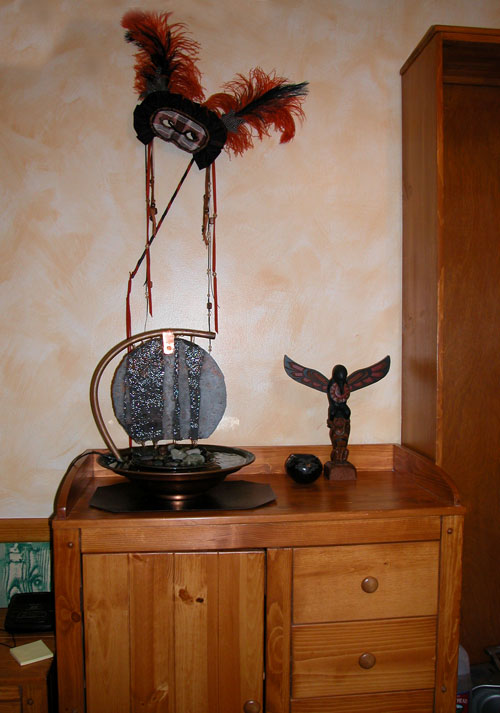
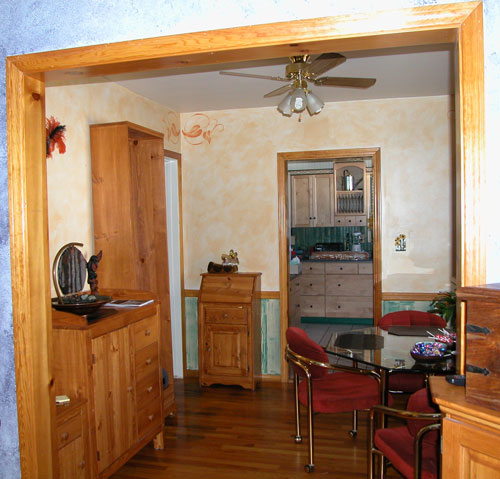
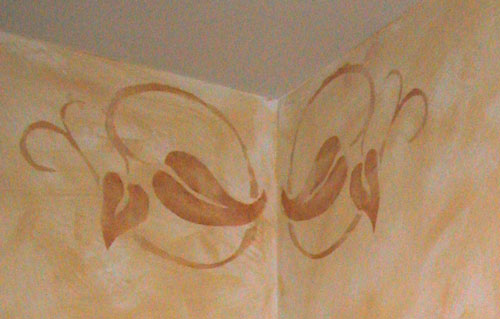
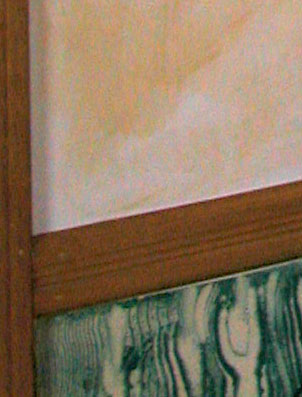
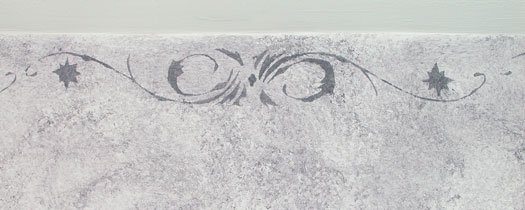
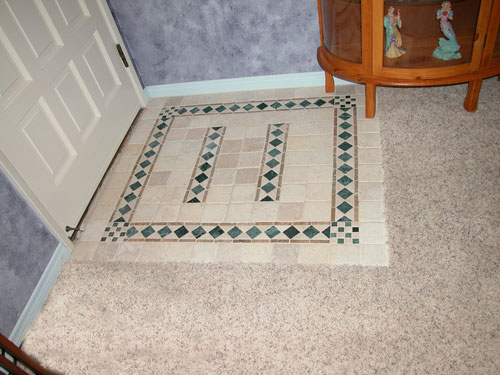
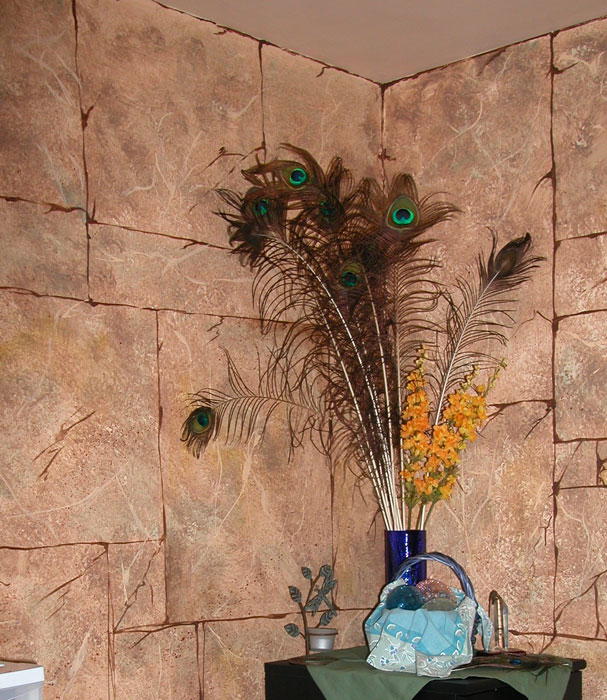
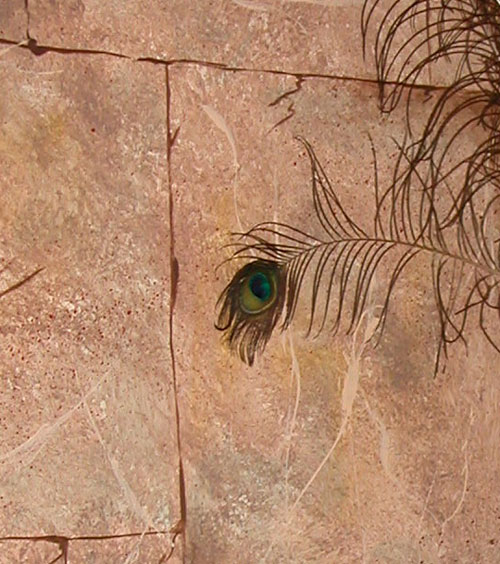
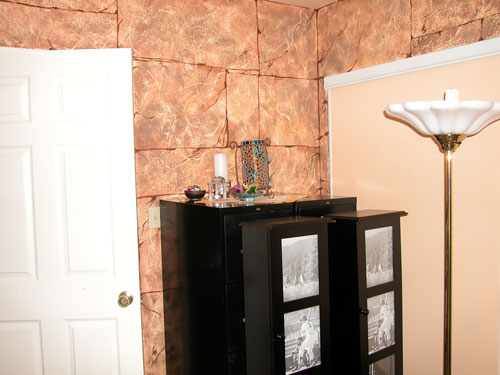
When I bought the house 8+ months ago...

... it had a beautiful remodeled kitchen... but the rest had the wear and tear of raising 3 boys, an earthquake and an air conditioner with a very unbalanced blower assembly.  Walls were decorated with enamel oil based paints in a couple of wild locations; the kids had a field day with stickers; and, jelly needed to be removed from the exotic places including the ceiling.

What follows are details of the paint techniques and a view of some of the decorate corners.  "No white walls!" was the war cry. 

The decorations needed to blend in with the "Country Modern" kitchen and some how "bent" into a slight "Lord of the Rings" theme... maybe something about running LOTR Costume...  However, I did not want to go over the top so stencils are adapted from graphics related to the film.

Life changes... and I must sell it... but I want to share the techniques after all the work.


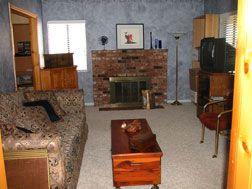
Click on any picture to see more detail.  Each of these rooms is documented in detail on other pages.


Kitchen and Laundry

Glamour shot showing paneling with the wood texture coming though and a bit of the solid maple cabinets and view window into the back. Close up of the paint technique.  Top of the walls are off-white.
Close-up of of the "gingerbread" work at the top of the cabinets. Example of one of the "fancy" cabinets.


Dining Room

Dry brush "wash" technique on the walls.  Base coat is light peach.  Two different darker colors are "X"ed on over it with a very dry brush.  Corners are stenciled in copper. Under the chair rail, a paint matching the kitchen is used with a "fake grain" paint tool.  This, and the rich gloss finished wood of the door molding and the hardwood floor blends with the kitchen.

Very "hobbity", without  extremes... the dining room would be their favorite place!

The stencil is a mirror image.  All 4 corners. Close-up of the two techniques.


Living Room

Walls are done with a "sponge" on technique, light purple for a base coat, ink for the second layer.  The top edge of the room stenciled. Here's how the technique looks from across the room.
Single stencil in ink and silver.  Design is modified but based on some of the LOTR "human" elements though the room has an "elven" feel. Showing the repeat pattern.
Feel of the room is enhanced with the mosaic that ties both the Berber "cookies 'n' cream" carpet and the decorative walls.
 

Office

This is the room that required the most plaster and patch... ah, like the whole back wall... so it received the fun stone treatment. Detail: starts with the same base coat as the closet door and dining room.  Sponge on technique is used in a couple of colors of brown and peach.  Dark brown  lines are painted in.  Green is sponged in on the edges of the blocks.  Red is splattered on top.  Finally marbling veins are added in both light and dark.
Example of room from farther away.  The closet door is plain only because the mural never got done.
 

Master Bedroom

The whimsical blue dinosaur herd serves as decoration to show the texture of the Ralph Lauren designer paint.  The "suede" paint has a built in texture but is rolled on in "X"s with a fluffy roller.  

Another example of the paint texture.  It's a very soothing color.


bulletThanks to Emily who did the brunt of the faux painting and created the stencils. 
bulletThanks to Edwardo who led the team that repaired all the walls, patched, sealed, sanded and then plastered the wall.  Everything but the kitchen (which was done 3 1/2 years ago), was primed in multiple layers of killz before the decorative paint was done.

Not a track home!

The house was built in 1950 as part of a track developed south of Victory and west of Sepulveda.  The previous owner lived in the house for 17 1/2 years.  He worked doing painting and carpentry at the studios and was able to make numerous modifications.

All the little 1950's closets have been replaced by full wall closets with part of each closet having built in shelving.  I added sliding doors to all the closets.

The master bedroom back wall has been opened up into a sliding glass door to show all the beauty of the back yard.

The fire place has a gas jet and the mantle is brick.

Of course the best modification was opening up the kitchen and the service porch to give a grand size kitchen area.  The adding of all new solid maple cabinets and countertops updated the look.

Back

This site was last updated 01/18/08