|
|
|
Burn-Etching Leather Tips
To Get that Legolas, Wood-Elf Look
by Emily D.
|
 |
Materials:
- Leather (soft cut, sued, or for vambraces, hard leather)
- Wood burning kit with a fine point nib
- Chalk
- Nice ventilated spot to work in, with something under your work area
that won't be ruined if you burn through (wood burners are smoky, and VERY
hot.)
I'm not an expert etcher or wood burner...but I do know a bit, and
I'm glad to share with anyone who has questions! My directions below are
just a guideline. Be creative though! This will be fun!
Please practice on scrap leather before you take the hot iron to our
beautiful costume.
Step 1.
- Chose your leather (NOT faux leather) and cut out pattern.
- I would suggest doing the etching before you sew the leather into
the finished garment.
- Heat that wood burner up!
- Now, while that's heating...draw on your design.
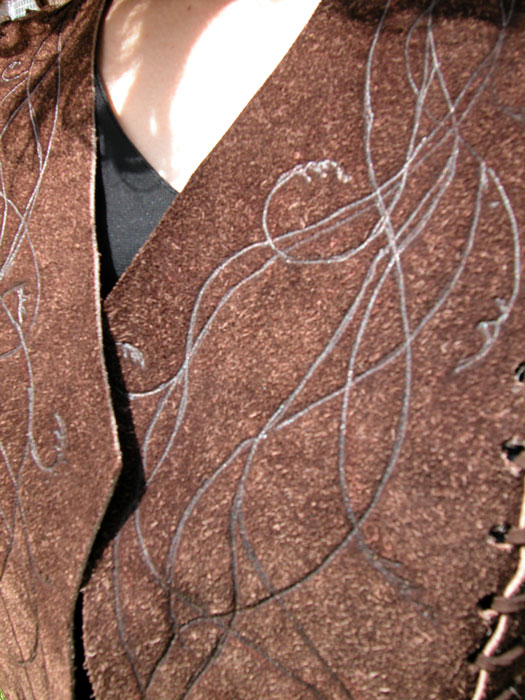
- You can do any type of design on your leather. But, to make Lord of
the Rings "Legolas" type etchings, draw dainty, swirly lines with chalk.
At the end of the "tree vine" swirls, you might put a leaf or what looks
like a half feather.
Step 2.
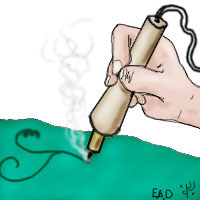
- Now, your wood burner is nice and hot (don't touch!), and your ready
to "burn" the leather.
- Hold the handle firmly, and follow along your chalk lines.
- Depending on the type/quality of your leather, and the look you're
going for, you may want to go over your design a few times to ensure a
lasting burn.
Tip:
Burn lightly before applying full pressure. The harder you press, the
deeper the lines becomes. Light lines may be scratched gently off the some
"soft" leathers if you make a mistake (sometimes).
Step 3 (Optional).
Though I have not tried this, you might want to "paint" the indented
etching you just created. You might use Acrylic paint, or fabric
paint.
Wah-la! Hope things turn out nicely for you!
This page was last updated
04/22/08
|